|
Constructing and Installing
an Anchor Roller Platform
Note: As the result of
damage caused to the platform described below during a storm in May 2002, I
constructed a new, reinforced anchor platform. I have left the original
text here for the complete story. To see the new anchor platform and
improved ground tackle setup, please begin by following this link:
Installing the new anchor platform. Or, click the link above to see
the whole story of the storm damage and subsequent repairs.
Making anchoring easier is
always an issue. To that end, a decent platform and roller system for
storage and deployment is key. Having sailed on boats equipped with and
without anchor rollers, I can say unequivocally that the roller is the way to
go. This way, the anchor is always set up and ready to go, and is right
out front where you want it without any fumbling. It is important,
however, to have a quality roller that is designed not only to store the anchor,
but also to function well with the anchor deployed.
One can install an anchor
roller right on the bow, but I think a better and less cluttered way is to
have a platform of sorts to hang the anchor out a little further. The
ultimate is a true bowsprit, but that's a little excessive for a Triton.
I decided to build a platform that would extend a little past the bow, about
as far as the bow pulpit. This is a good compromise between keeping
the clutter at the stem head to a minimum, good looks and the ramifications
of cantilevering a platform too far out.
I studied platforms on many
different boats, getting ideas as I went along. I saw some really nice
platforms and setups that I wanted to emulate, and some really shoddy things
that looked bad and surely functioned horribly. Most important in my
design considerations was the choice of ground tackle: a 35# CQR for the
primary anchor, with a second anchor of a different type as a backup. I
have chosen a 33# Bruce for this purpose, and it will also be installed on a
dedicated roller on the platform. In addition, we have a small 13#
Danforth, one of the few usable items that came with the boat. I recently
acquired a 20# Danforth as well, which will be available for use whenever
necessary, but will not be used on a regular basis.
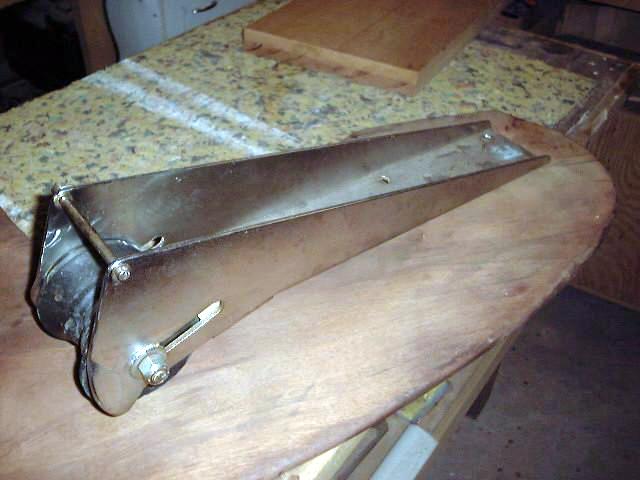 For
the roller system, I am installing two stainless steel rollers from Windline
Marine: a URM-1, designed for CQR anchors, as well as several other types,
including the Fortress and Danforth; and a BRM-3, which is the proper roller for
a 33# Bruce anchor. For
the roller system, I am installing two stainless steel rollers from Windline
Marine: a URM-1, designed for CQR anchors, as well as several other types,
including the Fortress and Danforth; and a BRM-3, which is the proper roller for
a 33# Bruce anchor.
I began planning for the
platform many months ago when I was I was constructing the mahogany
toerail. At the stem, I left a portion of the toerail off, leaving
a 12" wide section for the future anchor platform. The new platform
will fit snugly between the toerails. I had some lengths of wide
mahogany left over from my coamings, so  I trimmed two pieces to 12" wide and about 3' or so long (I don't know the
exact measurement offhand). After checking the fit on the boat, I
bonded the two pieces together on top of each other with thickened epoxy.
This lamination will provide the thickness desired for looks and strength.
I trimmed two pieces to 12" wide and about 3' or so long (I don't know the
exact measurement offhand). After checking the fit on the boat, I
bonded the two pieces together on top of each other with thickened epoxy.
This lamination will provide the thickness desired for looks and strength.
When the epoxy cured, I
sanded the edges smooth with my belt sander and, returning to the boat,
started playing around and determining the best position for the platform.
I want a good length to extend aft onto the foredeck for strength, but also
want enough projection forward to allow the anchors to easily clear the boat
when raising or lowering, and also to keep the clutter far enough forward to
prevent fouling with the roller furler drum and headstay. I finally
determined the best location and made some reference marks on the platform.
|
|
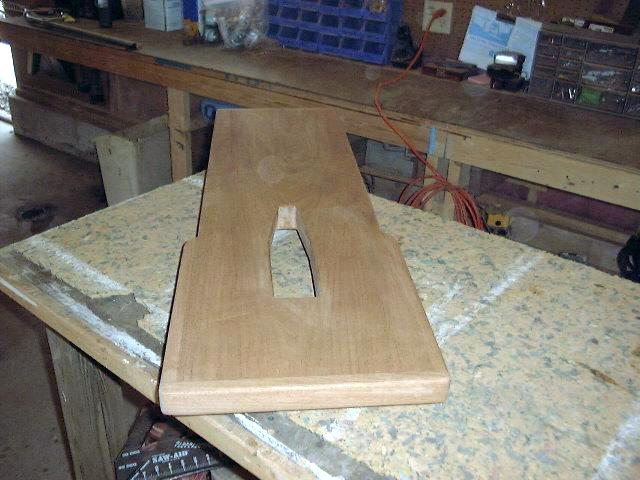
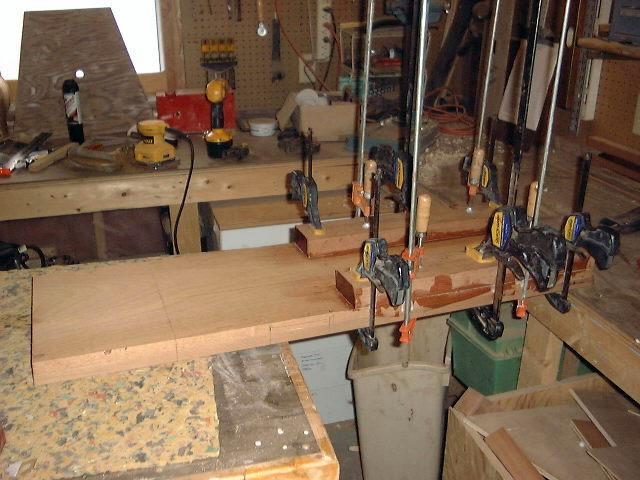 Next,
I measured the gap between the bottom of the platform and the foredeck
(1-7/16") so I could cut some wood to fill it in and support the aft
end of the platform. I had some 8/4 mahogany from another part of the
project, so I trimmed it to 1-7/16" thick and 3-1/2" wide. I
cut two 20" strips from this, which was roughly the distance aft the
platform projects from the molded stemhead. I left some room at the
forward end so that nothing can be hopelessly trapped beneath, and so I can
flush water from the forward end through the space beneath. I epoxied
these timbers in place on the aft bottom of the platform, clamped them and
left them overnight. Next,
I measured the gap between the bottom of the platform and the foredeck
(1-7/16") so I could cut some wood to fill it in and support the aft
end of the platform. I had some 8/4 mahogany from another part of the
project, so I trimmed it to 1-7/16" thick and 3-1/2" wide. I
cut two 20" strips from this, which was roughly the distance aft the
platform projects from the molded stemhead. I left some room at the
forward end so that nothing can be hopelessly trapped beneath, and so I can
flush water from the forward end through the space beneath. I epoxied
these timbers in place on the aft bottom of the platform, clamped them and
left them overnight.
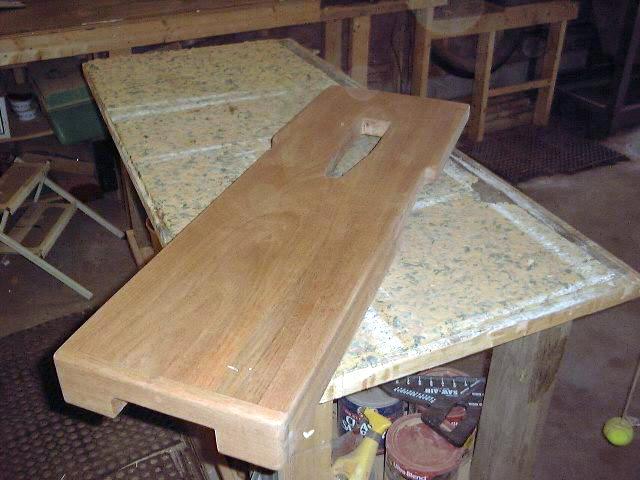
Next, I installed some
3/4" thick mahogany strips over the three sides of the platform at the
forward end that will overhang the stem. These provide a more finished
appearance, but also some additional width to the platform. I
installed the strips with epoxy and screws; I covered the screw holes with
bungs. I installed similar strips at the aft end of the platform to
cover the end grain there.
|
|
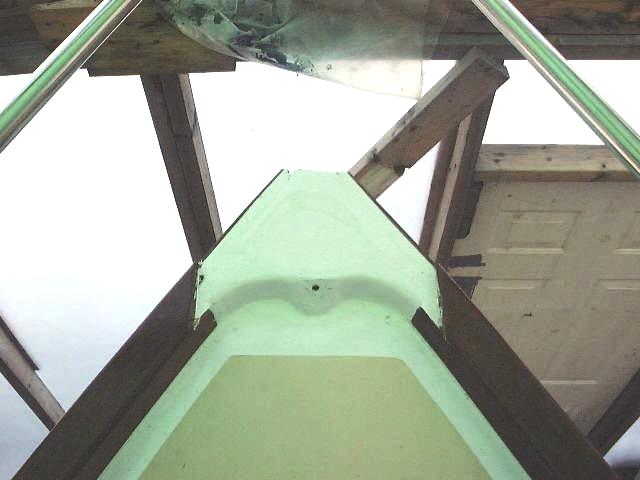
With the varnish complete, I
set forth to install the platform on the bow of the boat. After
determining its final position, I laid out the six holes for the bolts that
will hold the platform to the deck, and drilled 3/8" holes through the
platform and into the deck. First, though, I made sure the holes would
end up in an accessible and workable location in the chain locker, which
they did. Then, I marked the deck along the edges and, removing the
platform, applied masking tape to the deck and platform. I did my
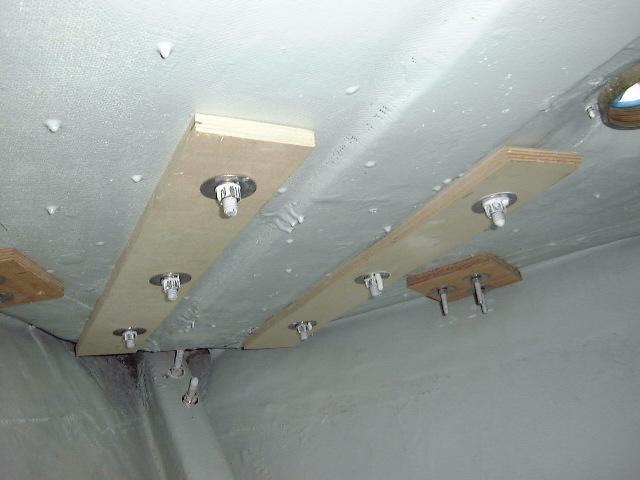
standard hole preparation work, and made some plywood backer 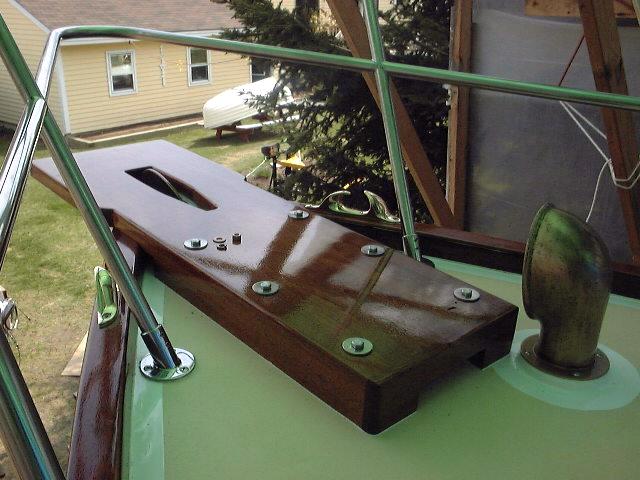  strips
for the bolts--the strips are 24" long and 3" wide, approximately
the same as the sides of the platform where the bolts pass through.
Using 5200 for its permanence and adhesive qualities, I gooped up the deck
beneath the platform, and also the flat stem area on either side of the
stemhead piece. Then, I installed the platform with six
3/8"x5" stainless steel bolts with fender washers above and
below. 5200 squeezed out along all edges, as desired. I cleaned
up the excess and left the platform to cure for several days before
attempting any further projects on it. strips
for the bolts--the strips are 24" long and 3" wide, approximately
the same as the sides of the platform where the bolts pass through.
Using 5200 for its permanence and adhesive qualities, I gooped up the deck
beneath the platform, and also the flat stem area on either side of the
stemhead piece. Then, I installed the platform with six
3/8"x5" stainless steel bolts with fender washers above and
below. 5200 squeezed out along all edges, as desired. I cleaned
up the excess and left the platform to cure for several days before
attempting any further projects on it.
UPDATE:
This anchor platform was
destroyed on May 14, 2002 while riding out a storm on the mooring. Please follow this
link to read about the damage, causes, and the new anchor platform.
Please
click here to continue.
|