|
Storm Damage Page 3
This page was last updated on 2
June 2002
Rebuilding
the Anchor Platform Repairs
to the Foredeck
|
|
 The
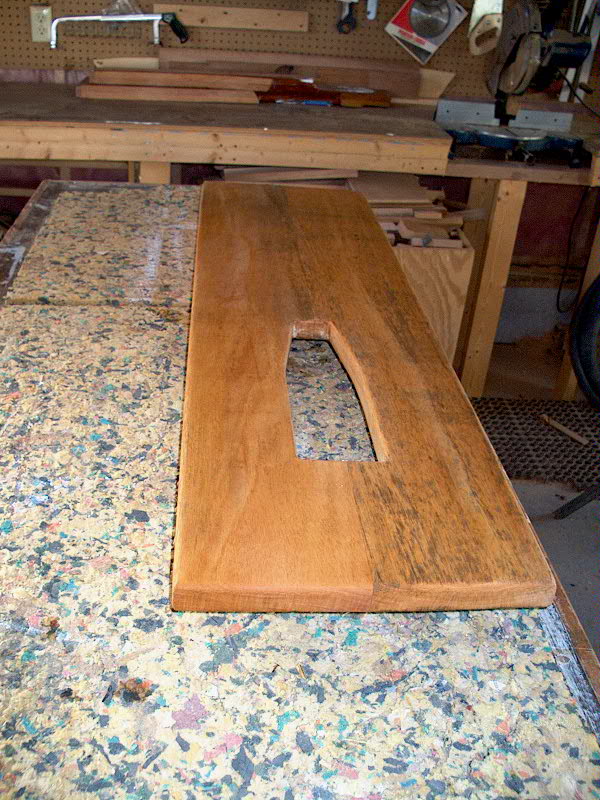
next day, I removed the clamps and sanded the entire platform and feet again,
completing the sanding to 220 grit on my palm finishing sander. The wooden
portion of the platform is now complete, and ready for varnish as soon as I get
the stainless plate worked out. The
next day, I removed the clamps and sanded the entire platform and feet again,
completing the sanding to 220 grit on my palm finishing sander. The wooden
portion of the platform is now complete, and ready for varnish as soon as I get
the stainless plate worked out.
|
|
I made a valiant attempt to cut
the center cutout out of the stainless plate with drill bits and my jigsaw, but
it was simply not going to be possible--not even close. I can drill
through it OK, so drilling holes later won't be a problem, but forget about
cutting. Discouraged, I scoured the yellow pages for a convenient metal
shop to do the cutting for me. Fortunately, I found one that didn't
require me driving to the inconvenient industrial parts of Portland, which is
just completely the wrong direction for me any time. Plus, they were ready
to do the work almost immediately. As soon as I got off the phone, I was
on my way with the plate in hand. I was promised that the cut would be
made the next day. Fortunately, the cutout will be hidden, and does not
need to be 100% precise or pretty.
The next
day, I was able to pick up the SS plate. The shop did a great job
cutting out the hole, leaving it much neater and smoother than I had hoped
for. Thanks, guys! Apparently I don't have a photo of this on
hand...
|
|
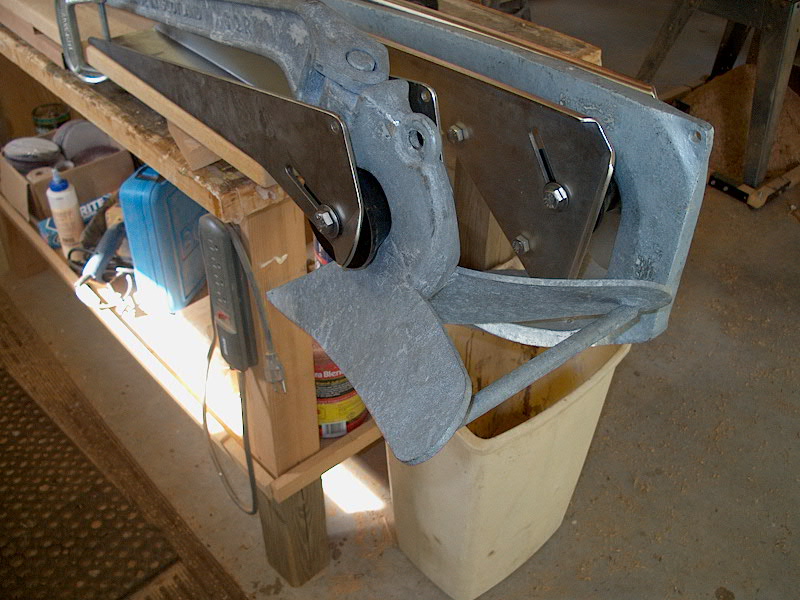
 With that done, I moved on to
completing the platform and figuring out where the rollers were going to go so I
could drill holes in the platform and, subsequently, in the SS plate before
epoxying it in place beneath the front of the platform. To begin, I mocked
up the two anchor rollers on my workbench, after marking the 12" width of the
platform on the top. The Bruce anchor roller's position is pretty much
fixed, so I began with that, drilling one hole to attach it temporarily with a
bolt. After placing the anchor in the roller, I set up the second roller
for the CQR and worked on placing that properly. As it turns out, I can do
things a bit differently than I did before, the main reason being that I will
forgo the stupid pin on the roller that can pass through a corresponding hole in
the anchor. I was never happy with the position of the anchor when this
pin was installed in the old setup, and now I just removed it and will instead
rely upon a chain pin or tensioner to secure the anchor. More on this
later. With that done, I moved on to
completing the platform and figuring out where the rollers were going to go so I
could drill holes in the platform and, subsequently, in the SS plate before
epoxying it in place beneath the front of the platform. To begin, I mocked
up the two anchor rollers on my workbench, after marking the 12" width of the
platform on the top. The Bruce anchor roller's position is pretty much
fixed, so I began with that, drilling one hole to attach it temporarily with a
bolt. After placing the anchor in the roller, I set up the second roller
for the CQR and worked on placing that properly. As it turns out, I can do
things a bit differently than I did before, the main reason being that I will
forgo the stupid pin on the roller that can pass through a corresponding hole in
the anchor. I was never happy with the position of the anchor when this
pin was installed in the old setup, and now I just removed it and will instead
rely upon a chain pin or tensioner to secure the anchor. More on this
later.
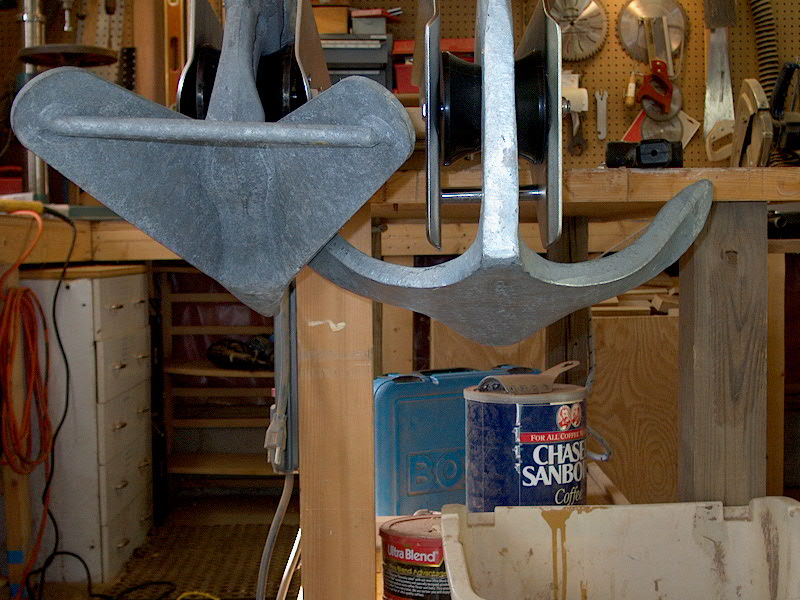
This opens up a couple options,
storage-wise: to pull the fluke of the anchor up and out of the way, sort
of laying the anchor on its side in the process; and, in another configuration,
to enable the anchor to sit snugly against the roller, but have the shank much
flatter and more parallel to the deck than before for a lower
profile. Both options also allow the CQR to coexist with the Bruce a
little better than before, without hanging the roller so far over the end of the
platform. (To refresh your memory, click here
to see the original setup.)
|
|
  With
that done, I moved on to mock up the rollers on the actual platform, and mark
for the appropriate holes to drill for the mounting bolts. I basically
replicated the setup with the two rollers, adjusting things till I was
satisfied. Then, I drilled for four bolts in the Bruce roller, and marked
the CQR roller for the four boltholes that needed to be drilled (new
roller). With my big slow speed drill, I drilled out those four holes,
then drilled the wooden portion of the platform. With
that done, I moved on to mock up the rollers on the actual platform, and mark
for the appropriate holes to drill for the mounting bolts. I basically
replicated the setup with the two rollers, adjusting things till I was
satisfied. Then, I drilled for four bolts in the Bruce roller, and marked
the CQR roller for the four boltholes that needed to be drilled (new
roller). With my big slow speed drill, I drilled out those four holes,
then drilled the wooden portion of the platform.
Next, I
clamped the SS plate temporarily in place and marked for the 10 holes that need
to be drilled--4 for each of the rollers, and two mounting holes that line up
with the forwardmost boltholes that will secure the platform to the deck.
It was at this point that I realized I had made a small error earlier when I
dadoed out 3/8" of the "feet" to accommodate the SS plate.
I realized that I should have added 3/8", instead of subtracted...so I had
to cut two 3/8" slices off the old, salvaged platform and epoxy them in
place on the bottoms of the existing feet. No big deal...just slowed me
down a little bit while I waited for the epoxy to cure.
|
|
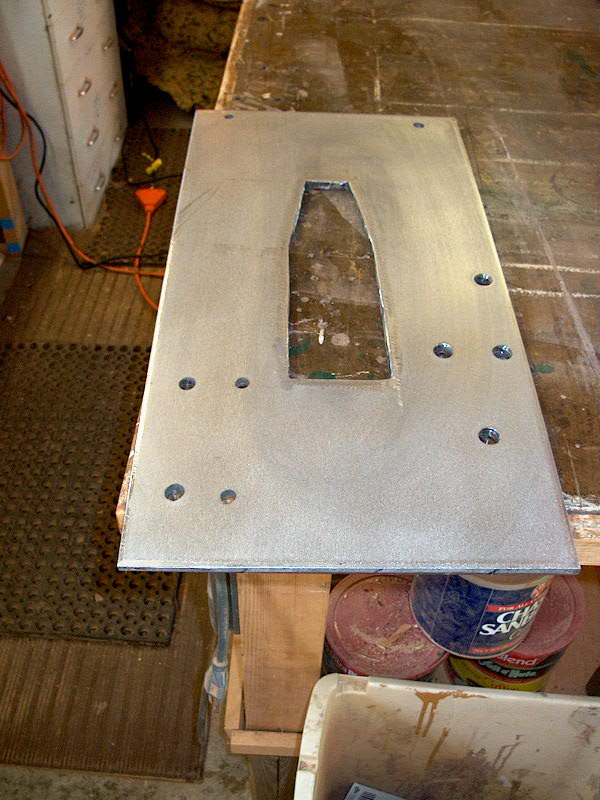
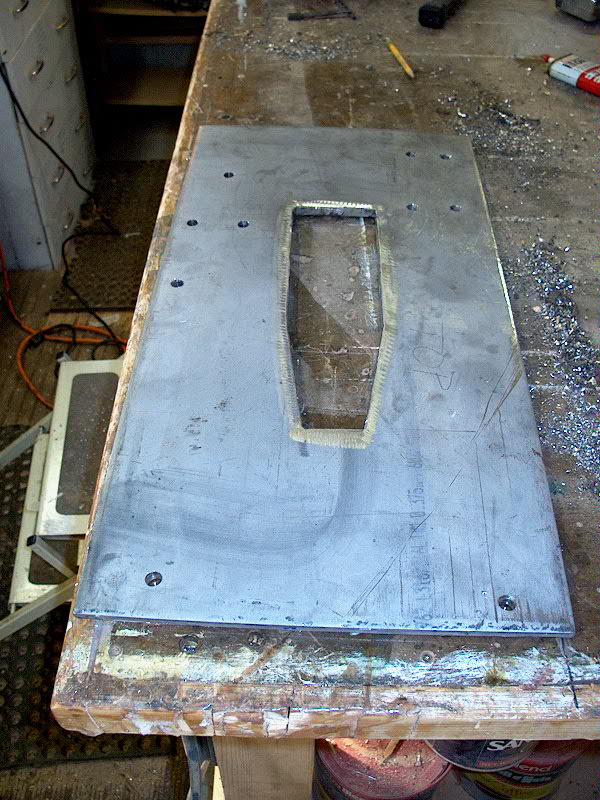 There
are 10 holes needed in the SS portion of the anchor platform:
four-3/8" holes for the starboard anchor roller; four-5/8" holes for
the port anchor roller; and two-3/8" holes for the forwardmost platform
bolts. There are four additional boltholes in the wooden portion aft of
the stainless plate. Drilling these holes was a laborious process.
Using some high quality bits from McMaster-Carr, I drilled each of the 10 holes
all the way through with a 15/64" bit as a pilot. I chose this size
for a few reasons: it was big enough to not break unnecessarily when
applying the requisite pressure to the drill; it was small enough that it wasn't
too terribly difficult to drill through the plate; and I had a large number of
these on hand, in case I broke any or dulled them. Drilling these initial
pilot holes (10 of 'em) was a long process using my big 1/2" slow speed
drill. Why didn't I use my drill press, you ask? Well, my cheapo
drill press just isn't up to the task. I can never get the drive belt
tight enough, and it slips even when drilling wood. I knew it would never
do the job in the stainless plate. I stood next to my bench on a stool so
I could apply my weight to the top of the drill, and finally got the holes
drilled. Once the pilot holes were drilled, enlarging them to just over
3/8" (25/64") was surprisingly easy. Finally, I enlarged the four
holes on the port side to 5/8" with a new bit that I had to purchase for
the job...the expenses continue to pile up. There
are 10 holes needed in the SS portion of the anchor platform:
four-3/8" holes for the starboard anchor roller; four-5/8" holes for
the port anchor roller; and two-3/8" holes for the forwardmost platform
bolts. There are four additional boltholes in the wooden portion aft of
the stainless plate. Drilling these holes was a laborious process.
Using some high quality bits from McMaster-Carr, I drilled each of the 10 holes
all the way through with a 15/64" bit as a pilot. I chose this size
for a few reasons: it was big enough to not break unnecessarily when
applying the requisite pressure to the drill; it was small enough that it wasn't
too terribly difficult to drill through the plate; and I had a large number of
these on hand, in case I broke any or dulled them. Drilling these initial
pilot holes (10 of 'em) was a long process using my big 1/2" slow speed
drill. Why didn't I use my drill press, you ask? Well, my cheapo
drill press just isn't up to the task. I can never get the drive belt
tight enough, and it slips even when drilling wood. I knew it would never
do the job in the stainless plate. I stood next to my bench on a stool so
I could apply my weight to the top of the drill, and finally got the holes
drilled. Once the pilot holes were drilled, enlarging them to just over
3/8" (25/64") was surprisingly easy. Finally, I enlarged the four
holes on the port side to 5/8" with a new bit that I had to purchase for
the job...the expenses continue to pile up.
|
|
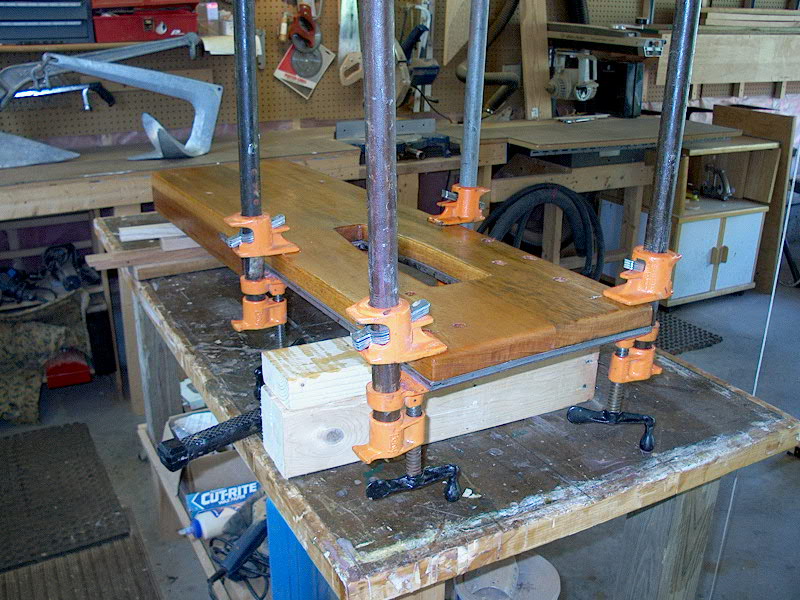
 With
all the holes drilled, I once again mocked up the platform with the stainless in
place to check the overall alignment of the holes and to test fit the
rollers. I had to ream out a couple of the holes a bit to get everything
properly aligned. Then, I ground the top of the stainless plate with my
sander and some coarse sandpaper to clean and prepare the surface for epoxying
it to the wooden part of the platform. After cleaning both sides with
solvent and taping off the wood (previously, I had applied two base coats of
varnish), I mixed up a batch of epoxy thickened with silica and 407 fairing
compound (just for color) and troweled it onto the plate and into the slot in
the feet into which the end of the plate slides. Then I slid the plate
into place and clamped it securely, and cleaned up the epoxy squeezeout. With
all the holes drilled, I once again mocked up the platform with the stainless in
place to check the overall alignment of the holes and to test fit the
rollers. I had to ream out a couple of the holes a bit to get everything
properly aligned. Then, I ground the top of the stainless plate with my
sander and some coarse sandpaper to clean and prepare the surface for epoxying
it to the wooden part of the platform. After cleaning both sides with
solvent and taping off the wood (previously, I had applied two base coats of
varnish), I mixed up a batch of epoxy thickened with silica and 407 fairing
compound (just for color) and troweled it onto the plate and into the slot in
the feet into which the end of the plate slides. Then I slid the plate
into place and clamped it securely, and cleaned up the epoxy squeezeout.
|
|
Click
here to continue the project with the deck repairs and final platform
installation.
|
|