|
The Ever-Settling
Waterline (Page 4)
This page was last updated on 11 October 2002.
Committing
to the new Line, Prepping and Repainting
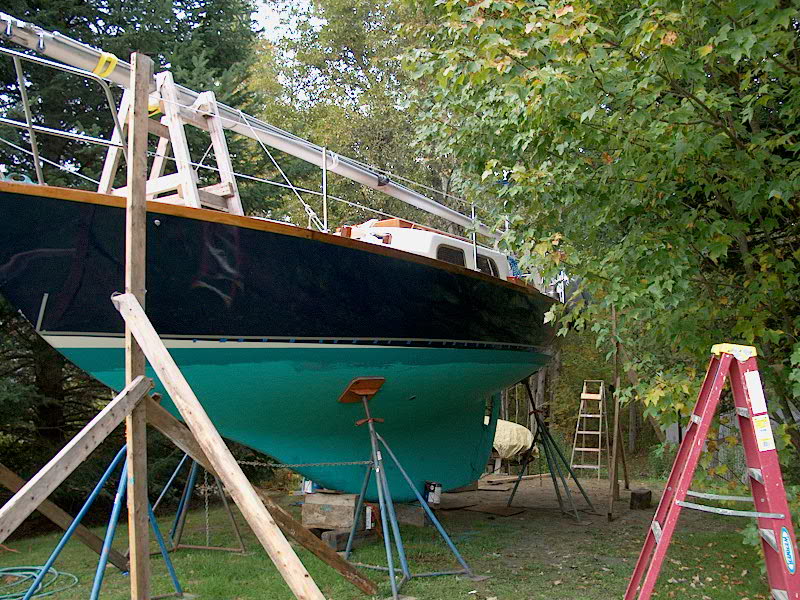
Eventually, I had to commit to my
new line as marked by the tape on the hull. I hemmed and hawed, eyed it
from every possible angle about a half dozen times, asked a friend's advice, and
generally procrastinated starting on the next step for as long as
possible. Getting going on the next step was hard because the next step
was destructive: sanding off the Awlgrip beneath my tape line to prepare
for raising the antifouling paint to the new level. Obviously, if my line
was incorrect, I would be in trouble once I sanded off my existing boottop.
The Awlgrip needs to be removed
in this area because much of it will be submerged all or part of the time, and
even with several coats of antifouling bottom paint over the Awlgrip, it would
likely continue to bubble and blister, and would likely eventually fail
completely, taking the bottom paint with it in unsightly sheets.
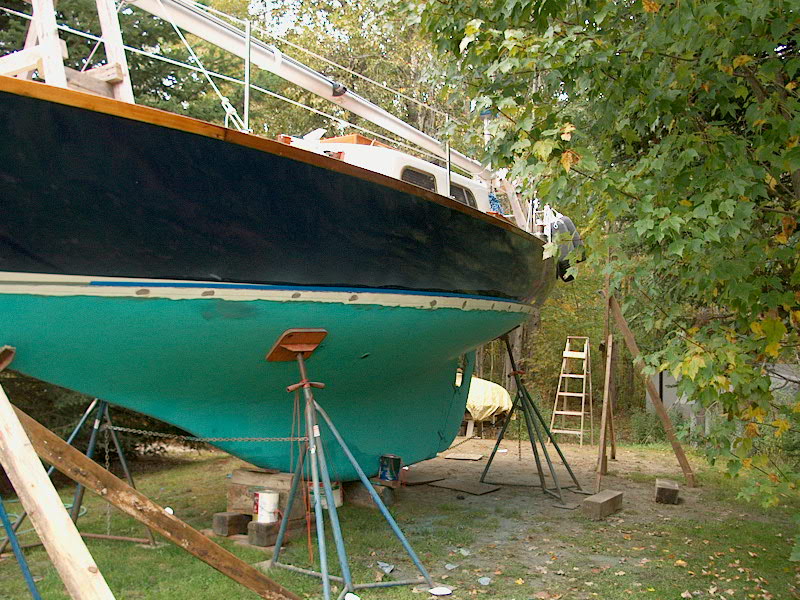
After a final visual check of the
new taped line, I dove in head first and got to work again. With my trusty
Porter cable 5" DA and 80 grit discs, I sanded the Awlgrip off beneath the
tape line, and feathered the edge onto the existing bottom paint a bit. I
sanded close to the tape, but had to leave a small amount of the old paint
underneath; this is insignificant because this top 1/8" will be above the
water, so it shouldn't be a problem. Later, I roughed up the last little
bit by hand to ensure that the bottom paint would stick well.
The several coats of Awlgrip and
Awlquik primer sanded off easily with the 80 grit, and completing the job took
just over an hour. The sanding disc had nicked the tape in several places,
unavoidably, so I patched in the damaged sections with new tape. Once I
wiped down the dust with some solvent and a rag, this job, which I had been
dreading, was complete--and a total anticlimax. With the old boottop
sanded off, I could get a better idea as to the accuracy of my taped line, and
was happy to see that it looked good.
|
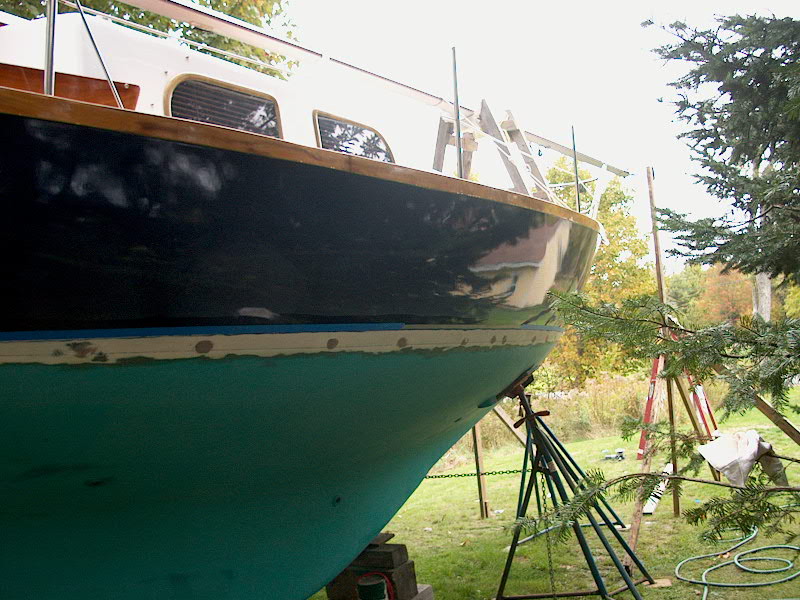
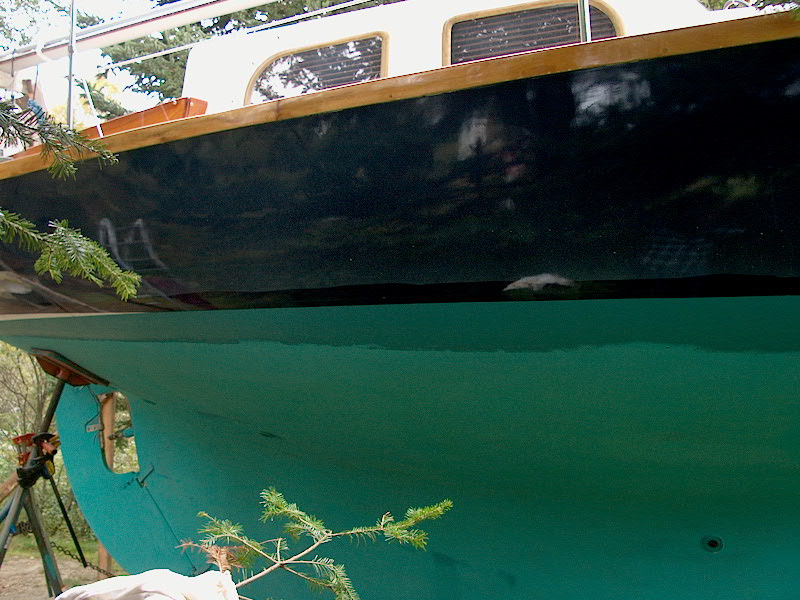
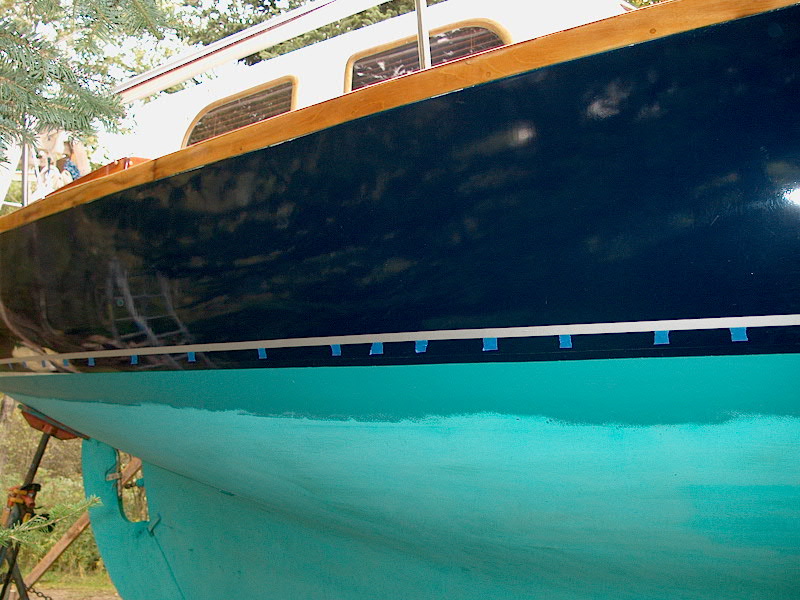
| To help me with the next steps of
the waterline project, I painted the new area beneath my tape line with some
bottom paint, just to cover the white beneath and to give me a crisp, accurate
line at the top from which to base my visualizations of the new boottop.
With a small roller and some of my Micron CSC, I zipped around the hull in a
pair of seconds. I applied only one coat for now so that the thickness of
the paint at the top wouldn't bee too much when I tape over it later and strive
for a very clean, crisp line when I paint the boottop with Awlgrip. In the
spring, before launching, I'll roll a couple extra coats on the waterline to
make up for the paucity of paint here. |
|
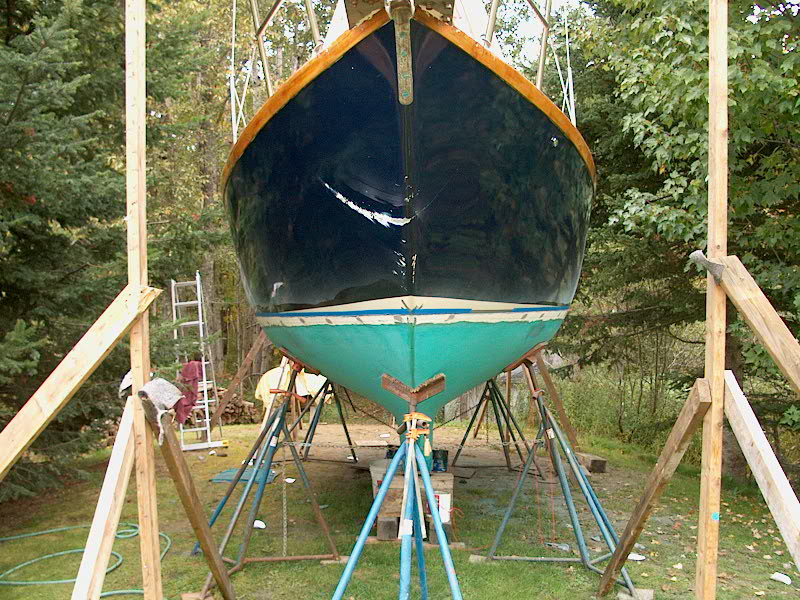
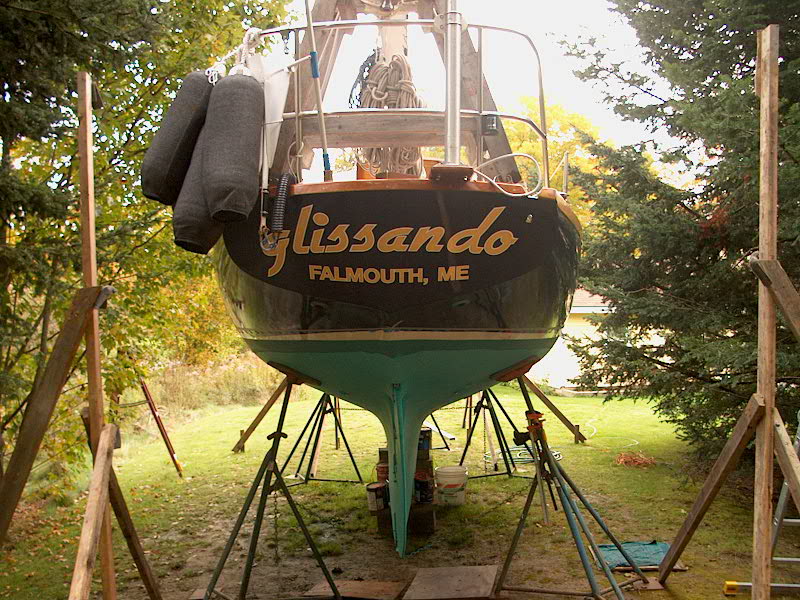
I gave the paint a little time to
dry, then set up my level lines 2" above the new waterline. This will
give me a 2" bootstripe, which is about the same as the old and looks best
given the ever-shrinking amount of topsides visible on my Triton.
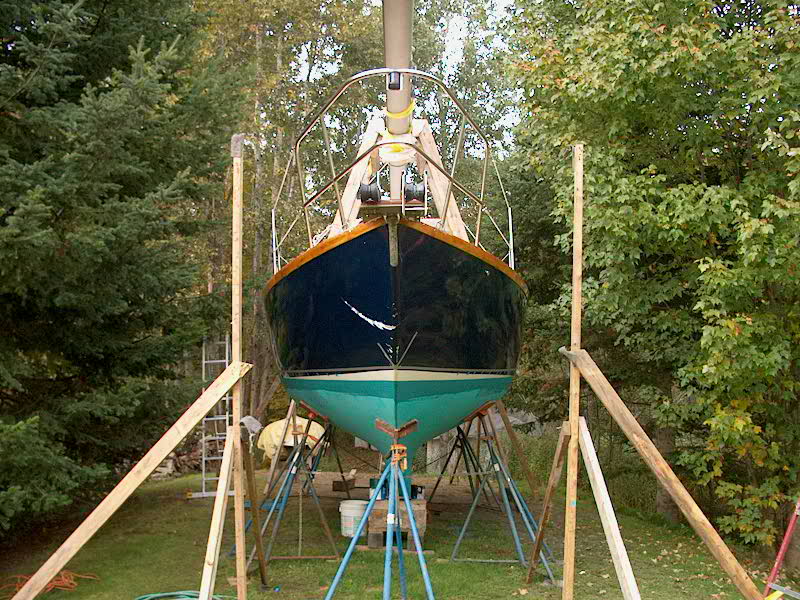
Following the same laborious procedure, I used small bits of tape to mark a new
level line 2" above my newly painted waterline. However, now these
marks are simply a guideline, rather than the absolute. This is because
the boottop will incorporate a slight sheer, particularly in the forwardmost
sections, for appearance purposes. Using the little tape marks I made as a
guide, I stretched new masking tape out to mark the new line, but faired it by
eye and raised it up in the forward sections to give the line a slight
curve. I fine tuned the line on each side till I was happy with them and
sure that they matched from side to side, from ahead and behind.
|