|
Strong Track System
This page was last updated on
May2, 2009. |
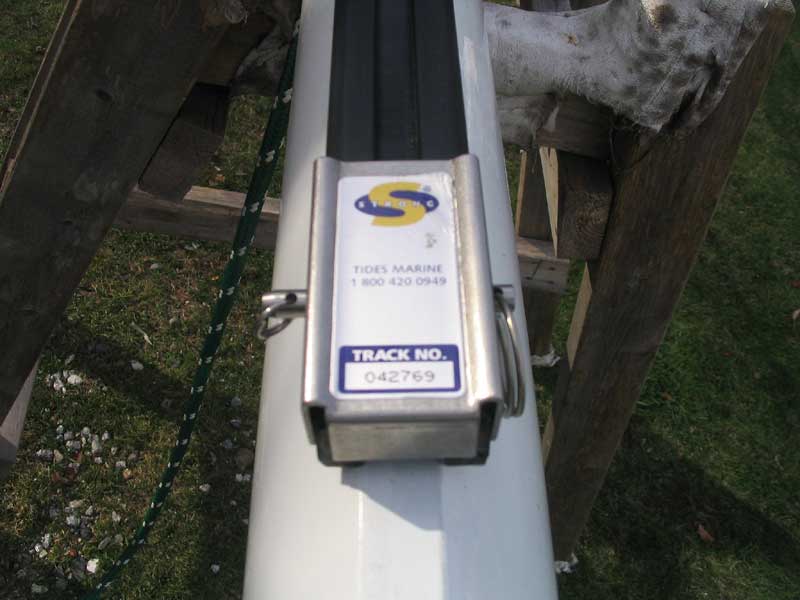
 In
the fall, I had made the decision to order a
Tides Marine Strong
Track system for my mainsail. This low friction system promised
to make mainsail handling a treat, rather than a sometime chore. I
dropped my sail off at my local sail loft, and ordered the system; the
loft would install the hardware on the sail, but I picked up the track
when it arrived and took it home for my own installation. In
the fall, I had made the decision to order a
Tides Marine Strong
Track system for my mainsail. This low friction system promised
to make mainsail handling a treat, rather than a sometime chore. I
dropped my sail off at my local sail loft, and ordered the system; the
loft would install the hardware on the sail, but I picked up the track
when it arrived and took it home for my own installation. |
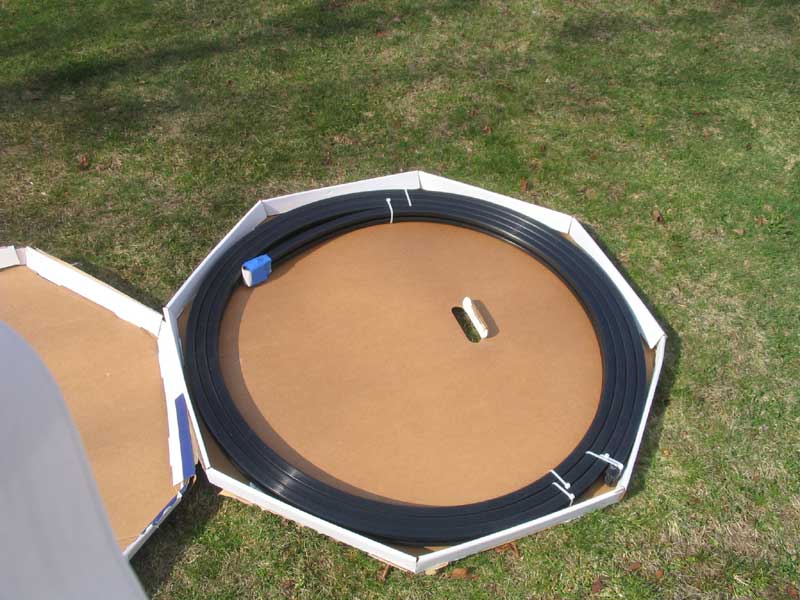
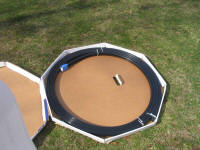 After
storing the large, flat box containing the rolled-up track all winter, the
time finally came for installation. Installation was quite
straightforward; the track section simply slides over (or into, if
you have an internal track) the existing track. The way the coiled
track is secured, one can cut the ties in such a way as to maintain the
integrity of the coil throughout installation, preventing the whole long
coil from unwinding at once. After
storing the large, flat box containing the rolled-up track all winter, the
time finally came for installation. Installation was quite
straightforward; the track section simply slides over (or into, if
you have an internal track) the existing track. The way the coiled
track is secured, one can cut the ties in such a way as to maintain the
integrity of the coil throughout installation, preventing the whole long
coil from unwinding at once. |
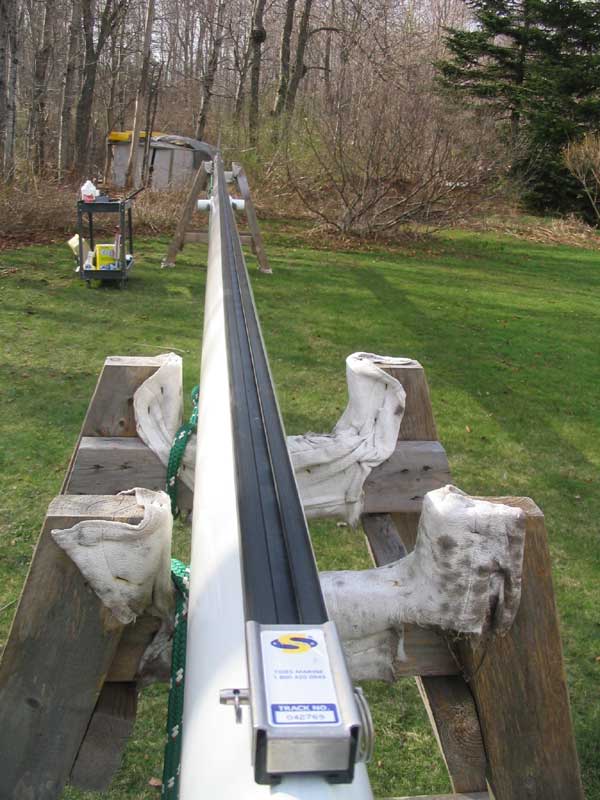
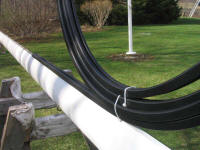 To
install, I simply fed the top part of the track onto the existing bronze
mainsail track, and pushed the new plastic track up the mast (with the
mast on horses) a little at a time, cutting more of the plastic cable ties
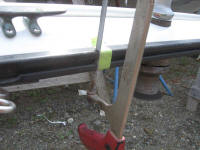
as needed to continue working the track up the mast. In my
particular case, the horses were weak, and the force of pushing the track
up the mast started causing the horses to collapse. To stem this, I
tied them together with some line I had around, and then tied the whole
thing to a nearby trailer to stabilize the whole thing. To
install, I simply fed the top part of the track onto the existing bronze
mainsail track, and pushed the new plastic track up the mast (with the
mast on horses) a little at a time, cutting more of the plastic cable ties
as needed to continue working the track up the mast. In my
particular case, the horses were weak, and the force of pushing the track
up the mast started causing the horses to collapse. To stem this, I
tied them together with some line I had around, and then tied the whole
thing to a nearby trailer to stabilize the whole thing. |
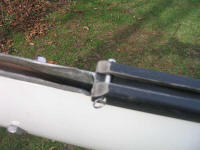 Presently,
I reached the end. As I had suspected, the track was slightly too
long--I had ordered 33'. The directions called for cutting the
excess off at the bottom, but I quickly discovered this wouldn't work
since the bottom of the track featured a widened cutout to allow
installation of the mainsail slugs and a retaining piece. However,
by simply removing the main halyard sheave arrangement at the top of the
mast--which was blocking further progress of the track--I could continue
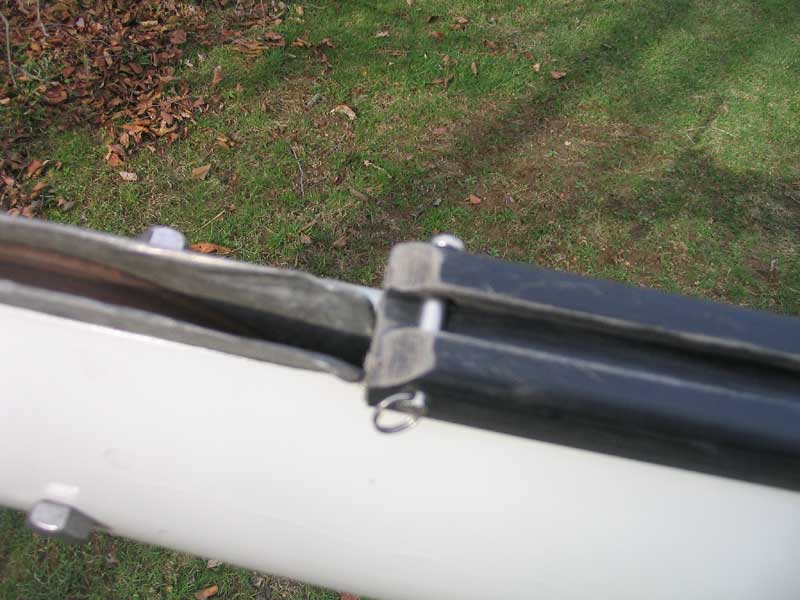
pushing the excess track upwards. It was easy to cut the top end,
which had only a bevel at the corner, and then shape the new bevel and
redrill for the stop pin, which prevents the sail from being overhoisted. Presently,
I reached the end. As I had suspected, the track was slightly too
long--I had ordered 33'. The directions called for cutting the
excess off at the bottom, but I quickly discovered this wouldn't work
since the bottom of the track featured a widened cutout to allow
installation of the mainsail slugs and a retaining piece. However,
by simply removing the main halyard sheave arrangement at the top of the
mast--which was blocking further progress of the track--I could continue
pushing the excess track upwards. It was easy to cut the top end,
which had only a bevel at the corner, and then shape the new bevel and
redrill for the stop pin, which prevents the sail from being overhoisted. |
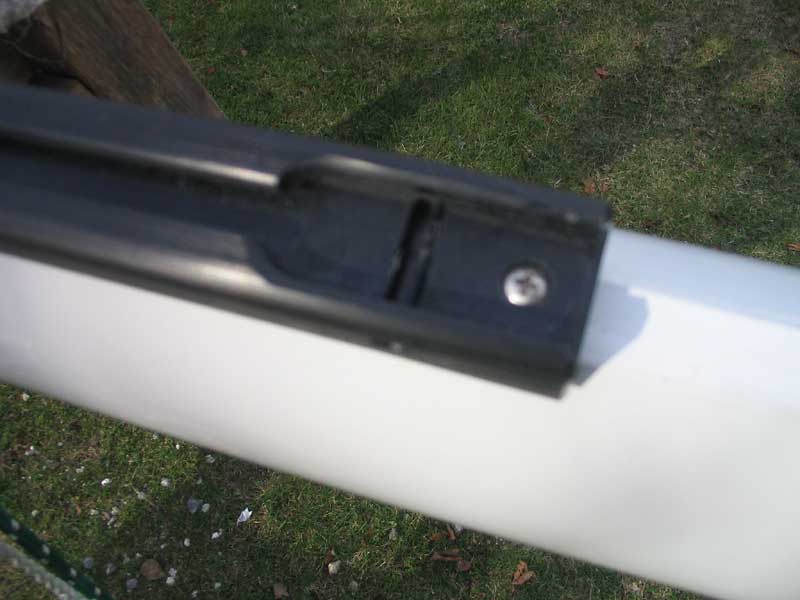
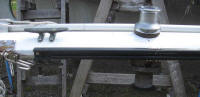
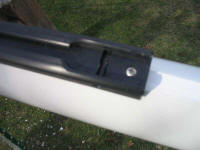 At
the bottom, I secured the track in place with a single machine screw (the
kit comes with a self-tapping screw for this purpose). I drilled and
tapped the mast for the screw, and drove it home. Then, I
reinstalled the metal plate over the base, which is there to hold the sail
slugs in place once installed. At
the bottom, I secured the track in place with a single machine screw (the
kit comes with a self-tapping screw for this purpose). I drilled and
tapped the mast for the screw, and drove it home. Then, I
reinstalled the metal plate over the base, which is there to hold the sail
slugs in place once installed. |
|

|
 |
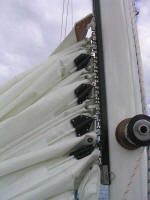 Once
the boat was in the water, I had an opportunity to check out the new
slugs and batten receptacles. The stainless steel slugs added
slightly to the overall stack height of the sail when stowed, and also
caused the sailmaker to remove the jacklines needed to allow the sail to
be pulled down far enough to allow hooking on the reefing hook; this was
something I would have to take up with them later. Once
the boat was in the water, I had an opportunity to check out the new
slugs and batten receptacles. The stainless steel slugs added
slightly to the overall stack height of the sail when stowed, and also
caused the sailmaker to remove the jacklines needed to allow the sail to
be pulled down far enough to allow hooking on the reefing hook; this was
something I would have to take up with them later.
|
|
Post-Installation
Update
I can highly recommend the Strong
Track system. It's simple to install, quite inexpensive, and works
like a charm. I can drop the sail with zero effort; if I let the
halyard go, the sail will crash completely down without any interference
whatsoever. After several seasons, all the hardware seems to be
holding up well with no signs of wear or other problems.
The long and the short of it: if
you're considering a Strong Track, then just buy it. You won't be
disappointed.
|
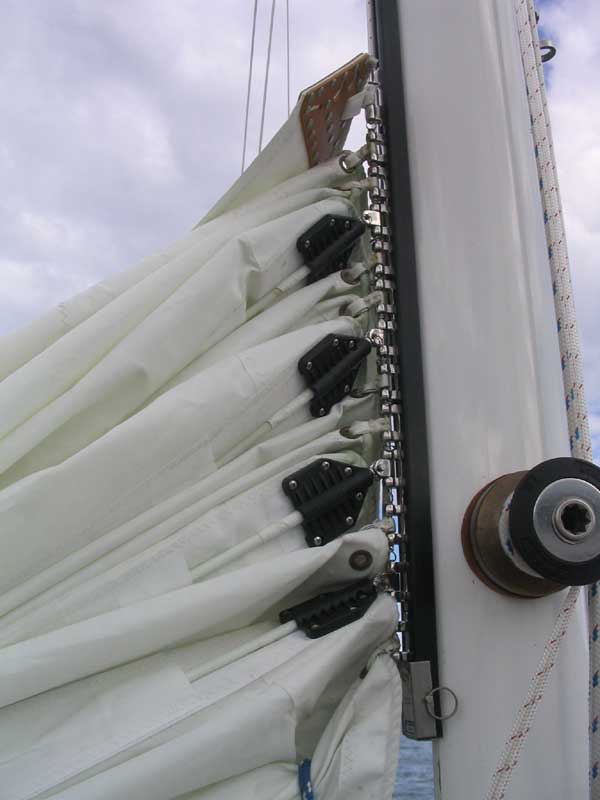
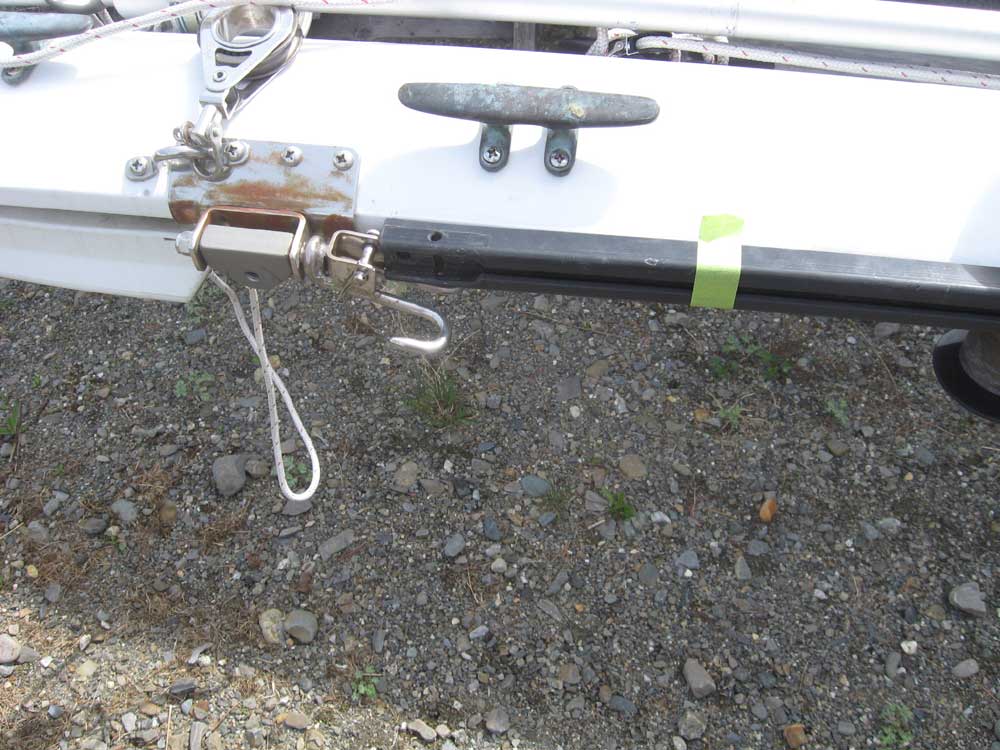
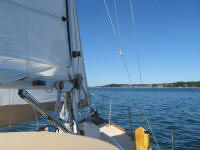
UPDATE: May 2009
Several years ago, when I installed my Strong Track for
the mainsail, I ended the track an inch or so below the
terminus of the external bronze track--logically and as
directed. This location was 8-10 inches above the
height of the gooseneck. However, I determined that
this created a reefing problem: the stack height of
the slugs was such that the reefing ears wouldn't reach the
reefing hook, for neither the first nor second reef.
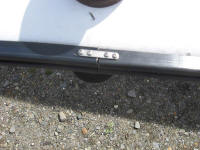
To get around this, I installed a couple shackles that I had
on board to extend the first reefing ear enough to allow me
to hook it and make it usable. This was acceptable
enough for a few years, but there was no chance of hooking
the second reef. Fortunately, I never needed the
second reef during this time. You can see the reefing
ear, the shackles, and the general first reef setup in this
photo. Clearly the slugs needed to come down further. |
 |
I wanted a better
solution. Through my sail loft, I eventually
discovered that Tides Marine, maker of the Strong Track,
offered an extension for this purpose. The extension
was simply a short length of track that incorporated the
wide slug feed at the bottom, with a clip at the top end to
secure the two pieces together. I ordered the
appropriate section.
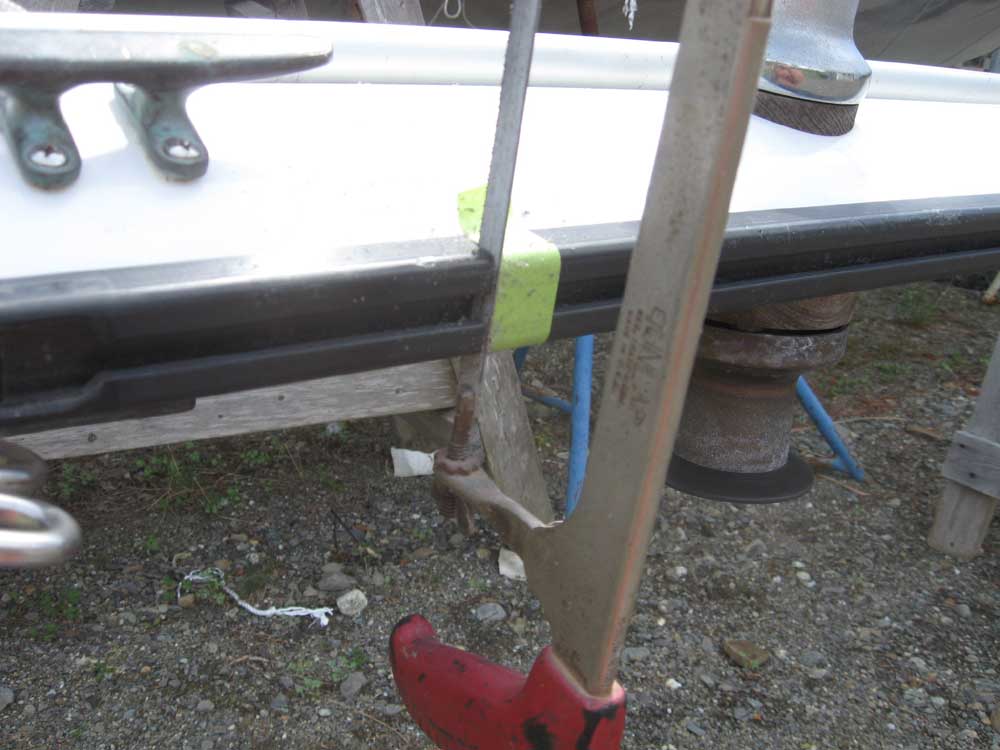
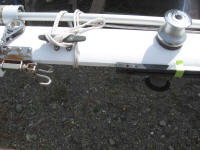
To install the extension, I
first determined where to cut the old track by holding the
15" extension in place and marking the old track with tape.
This provided enough overlap to remove the old feed section
and allow the new extension to slide partway onto the bronze
track. |
 |
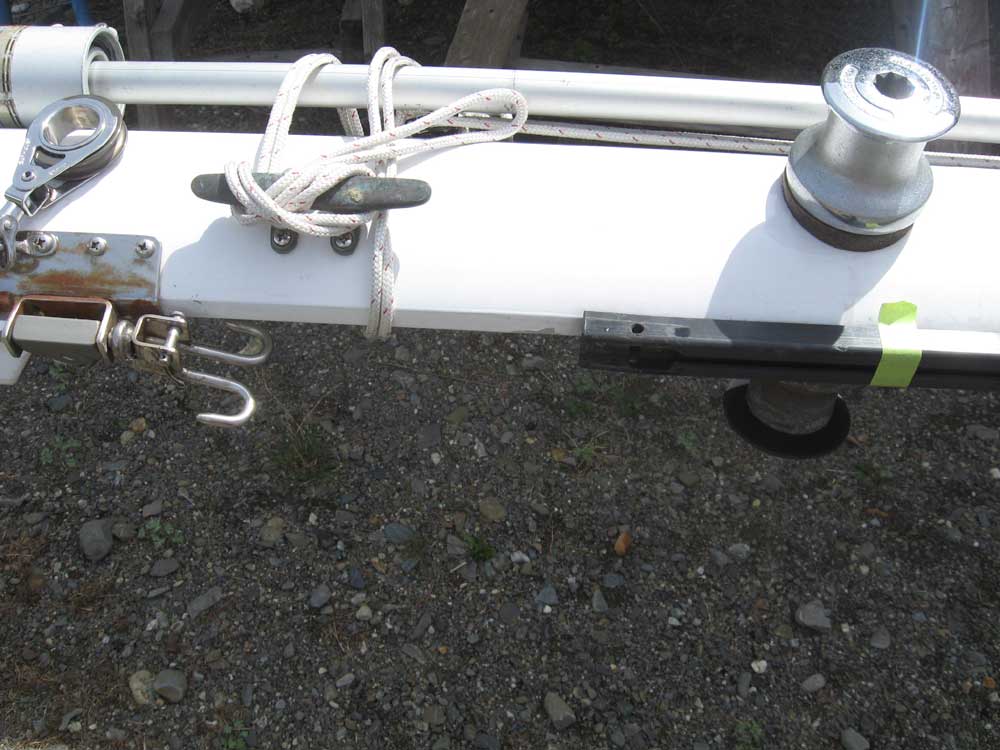
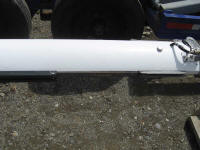
Next, I unscrewed the
single screw that held the track in place at the bottom, and
slid the existing track down enough to allow me to cut off
the track at my mark. |

 |
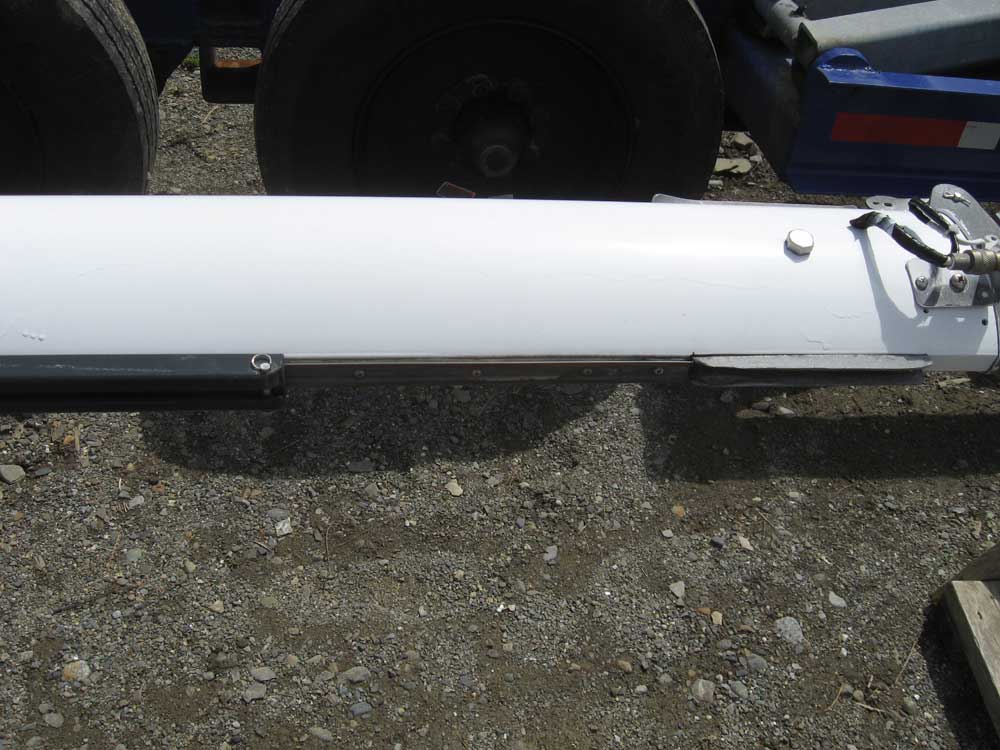
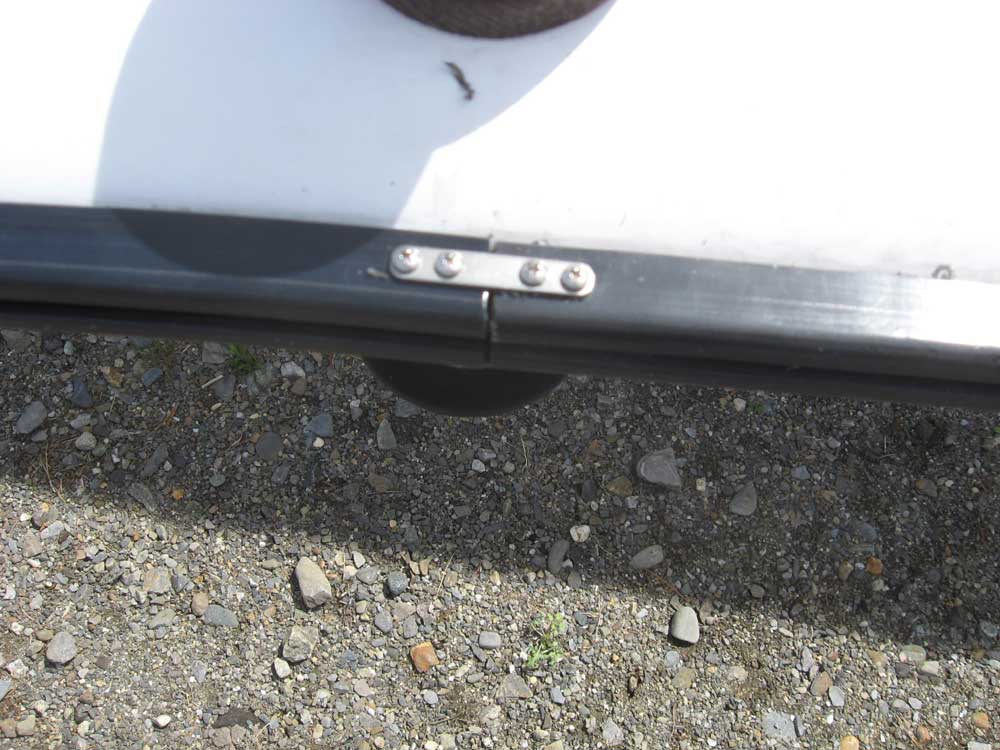
Then, I
slid on the extension and double-checked my placement (I
left the new bottom of the track about 2" above the
gooseneck to avoid clearance issues when loading the slugs),
and then drilled two holes through the track (which extend
through the solid center portion of the track) for the slim
bolts provided, which secured the two pieces of track
together. Finally, I drilled and tapped at the bottom
of the track for a new screw with which to secure the end.
There ended up being a slight seam at the joint, caused
by imperfect cuts on one or both pieces of track, but since
this seam was at the bottom of the track, and easily
reachable, I didn't see any problem with it even if the
slugs should hang up slightly. But now the stacked
slugs would extend nearly to the gooseneck, which would make
reefing (both reef points) much easier and also reduce the
overall stack height when the sail was lowered, which would
have the side benefit of easing pressure on my sailcover,
which barely covered the old stack height.
I'll
report more once I see this in practice this season. |
 |
|
|
|