|
2008 Maintenance
Log
2/9/08 | 4/14/08 |
4/19/08 | 4/27/08 |
5/26/08 | 5/28/08
2/9/08
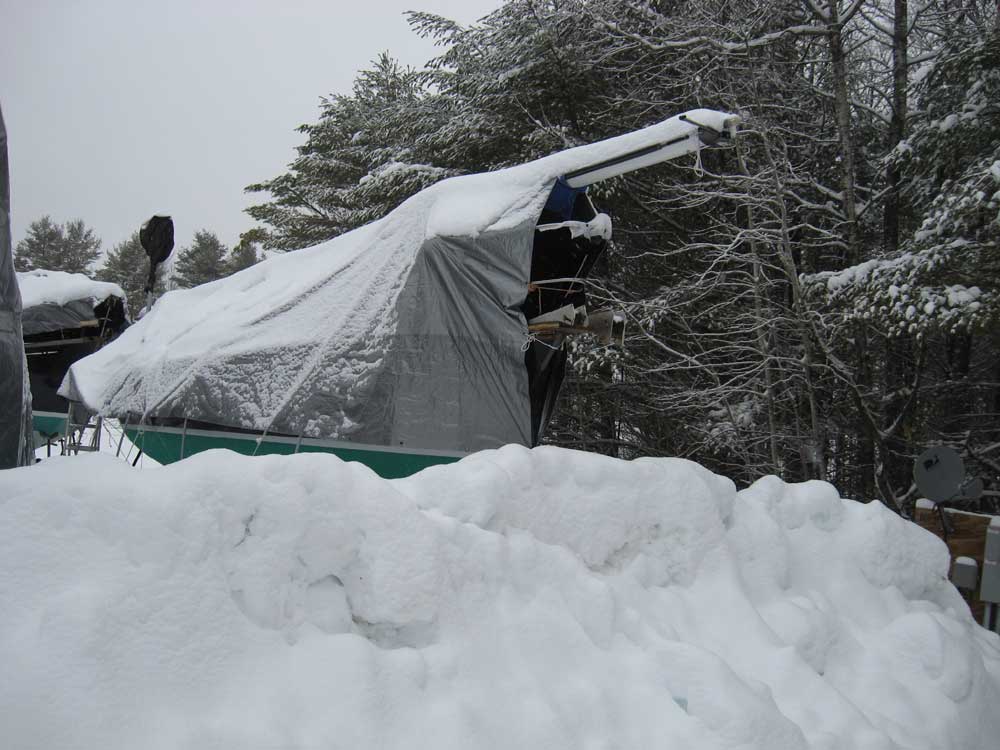
With a snowy winter and lots of
work-related projects in
the shop, I haven't been working on Glissando, though
she's not forgotten. However, I have taken steps to
complete some of the work on the brief work list that I
posted last fall. Here is the updated list as it
stands today:
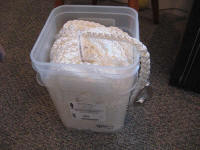
1. New anchor
rode (to replace the one broken by Wanaka
during the cruise this year). Thoughts:
Click here
2. Replace masthead light
3. Lengthen the backstay (New
Backstay on Hand:
Click
here for details)
4. Buy new chart #13305
(New Chart on Order)
5. Replace, or otherwise troubleshoot, radar
cable
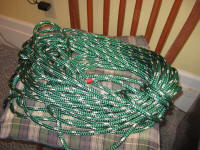
6. Finally replace jibsheets with a single
length to eliminate annoying knots at cringle
7. Varnish, of course
8. I'd love to repaint the hull--probably not
this winter, but it's in the back of my mind.
9. The nonskid needs to be redone
10. A variety of sewing/canvas repair tasks
required
11. Replace lifelines
(New Lifelines on Hand:
Click here for details) |
|
|
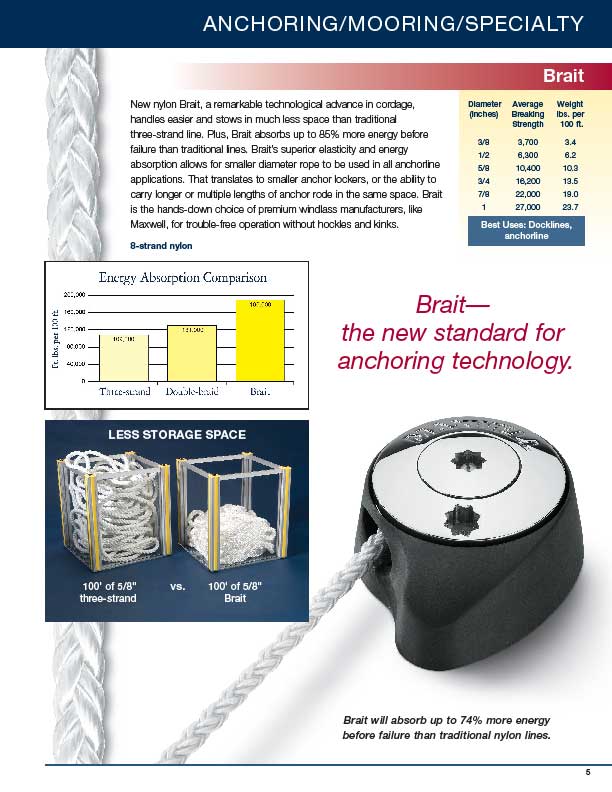
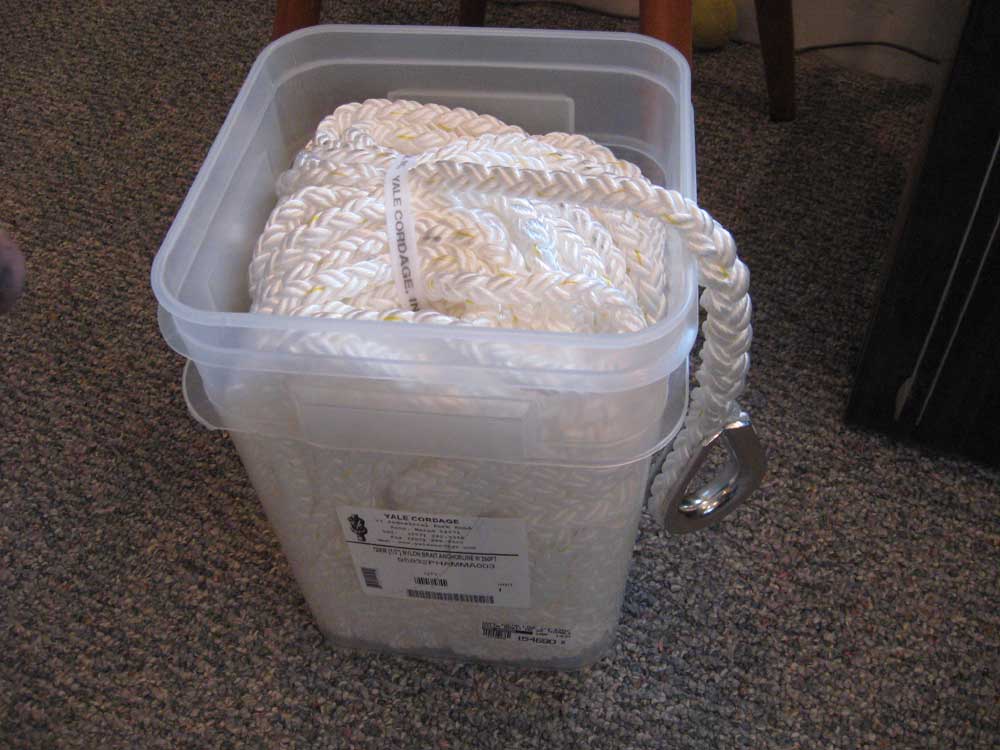
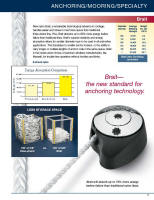 For
the new anchor rode, I'm considering using Yale Cordage's
product called Brait. I see a lot of benefits and few
or no drawbacks when compared with normal three-strand nylon
rode, the old standby. For
the new anchor rode, I'm considering using Yale Cordage's
product called Brait. I see a lot of benefits and few
or no drawbacks when compared with normal three-strand nylon
rode, the old standby.
Here's Yale's white paper on Brait:
Anchoring Technology
As of this writing, I
haven't yet made any decisions nor purchases. |
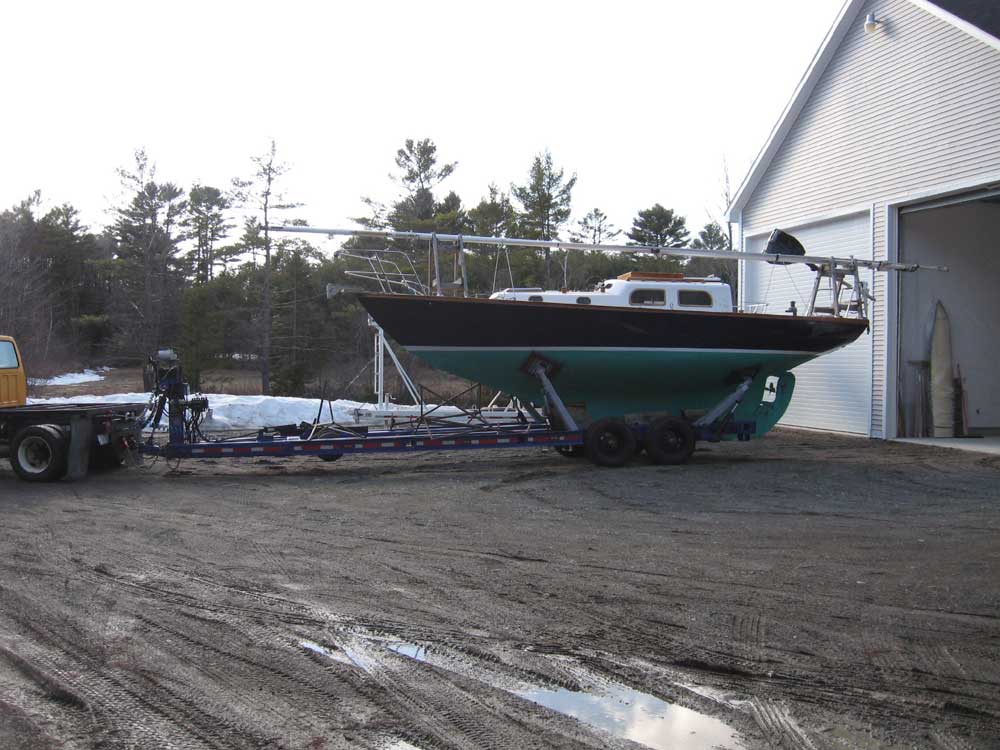
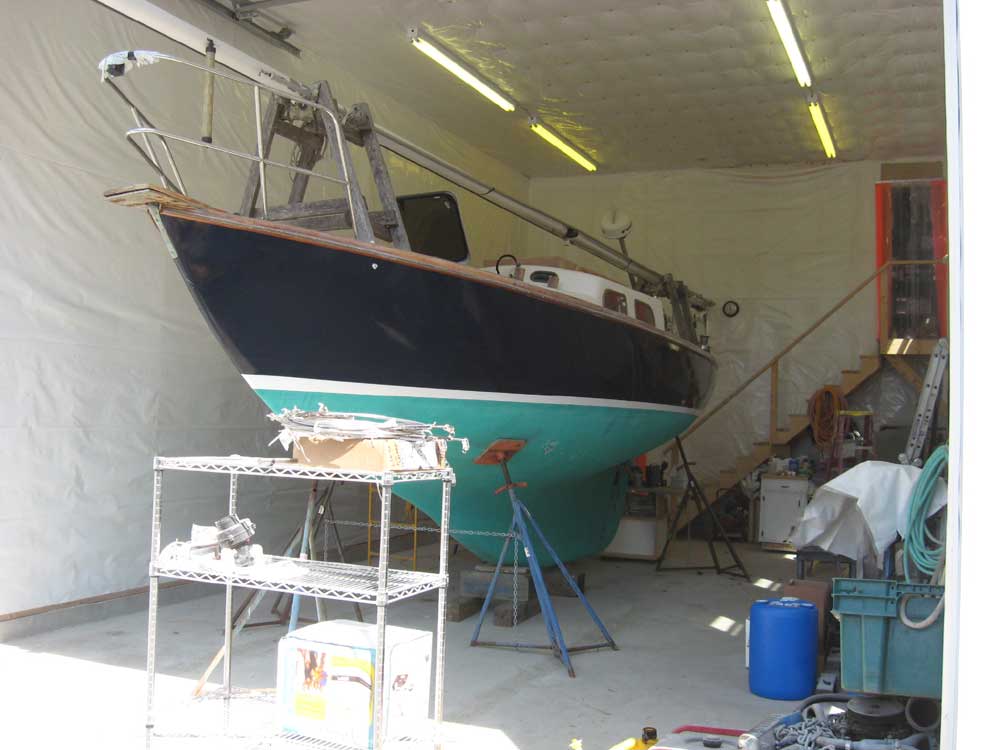
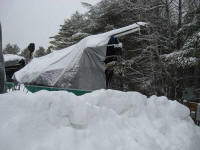
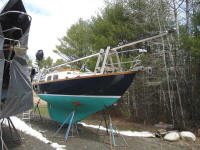
4/14/08A
week or so ago, I broke down what remained of the snow pile
in front of the boat with my tractor bucket so that it'd
melt more quickly. Then, over the weekend I moved a
boat out of the shop, which opened up one of the shop bays,
at least for the time being. So I grabbed the
opportunity to move Glissando inside for a couple weeks so
that I could get going on varnish and other spring
maintenance.
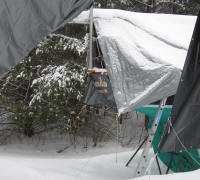
The mast, stored on top of
the boat, just fit inside the building; I had to undo and
move the headfoil, which stuck out past the base of the
mast, but otherwise had no trouble. |
|

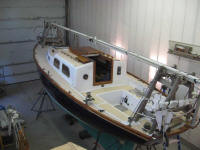 |
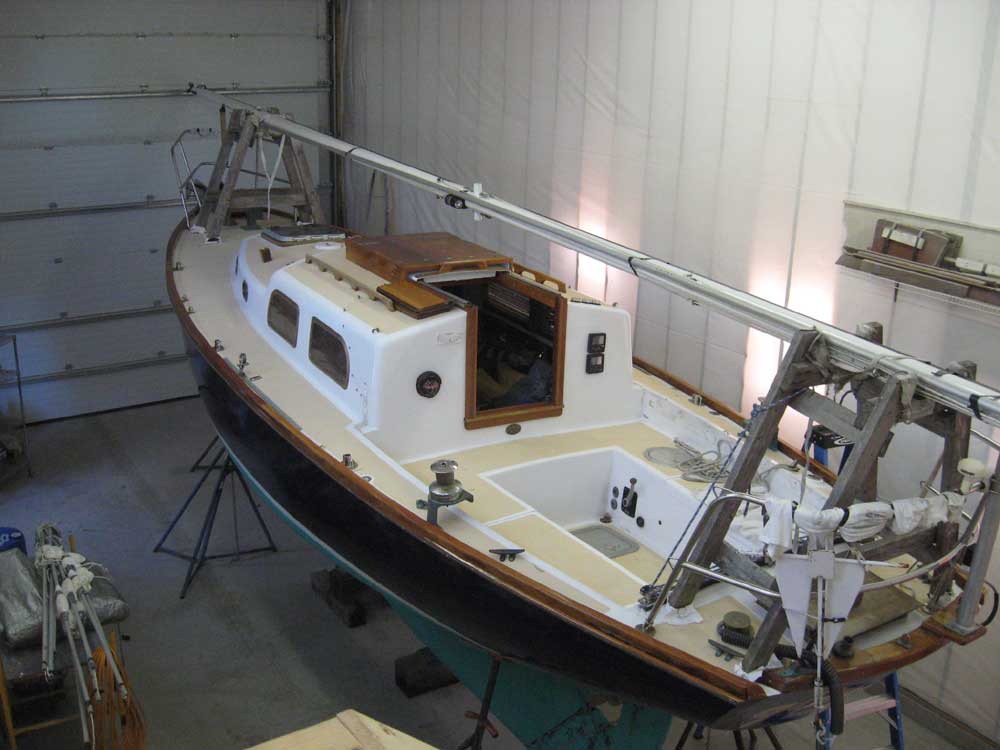
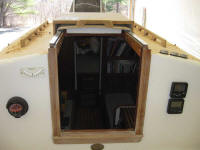
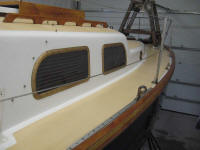
4/19/08
I spent the entire day
working on the brightwork and ports. My goal for the
day was to get all the prepwork out of the way. Last
year about this time, I stripped and refinished the
toerails, and the toerails were still in decent shape,
though with a few spots containing water damage and lifted
varnish. This was easy to scrape away, and otherwise
the toerails required only a sanding with 220 grit paper.
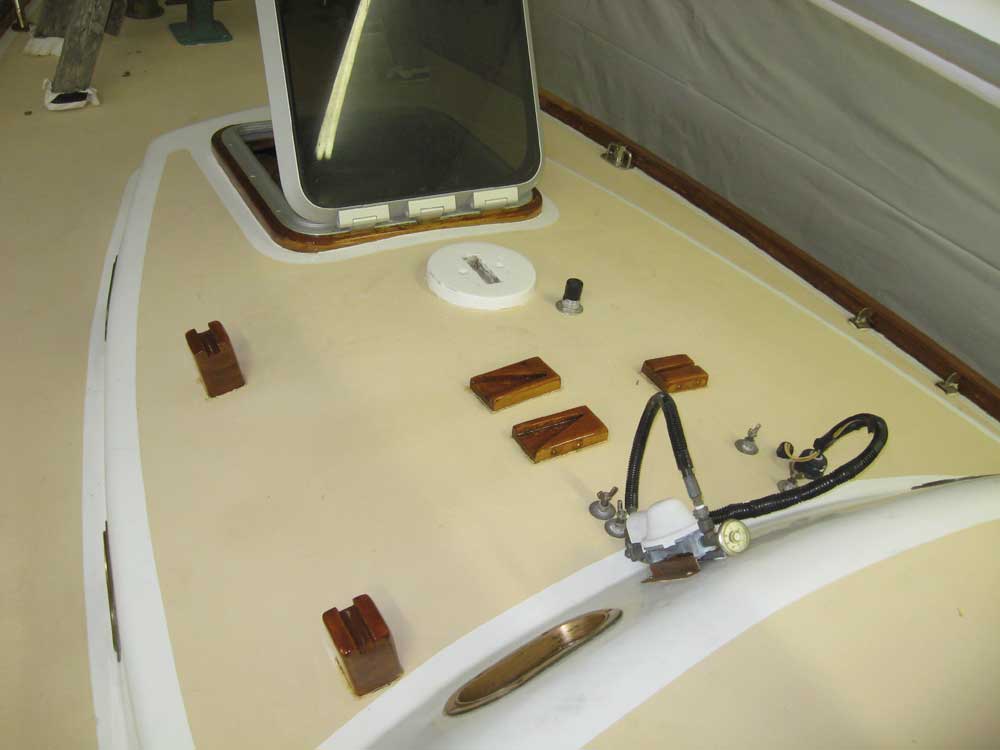
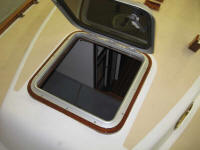
Some of the varnish on deck had been neglected for too long.
Last spring, I just didn't have time to address things like
the handrails, forward hatch frame, and anchor platform, and
all seasons long these neglected, cracked, paragons of
peeling varnish bothered me. So this year, I promised
myself that these areas would get the attention they needed.
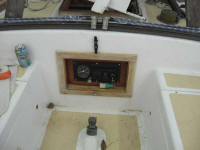
In addition, it'd been a couple years since I'd varnished
the companionway trim (which remained in good condition
nonetheless since it was beneath the dodger during the
season) and the engine instrument panel surround. In
other words, all the brightwork required attention.
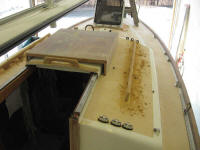
I scraped and sanded away
the old varnish as needed, working my way through the
sanding grits to 220 in all areas. The job made a huge
mess, of course, so afterwards I vacuumed up before
continuing. |
|

 |
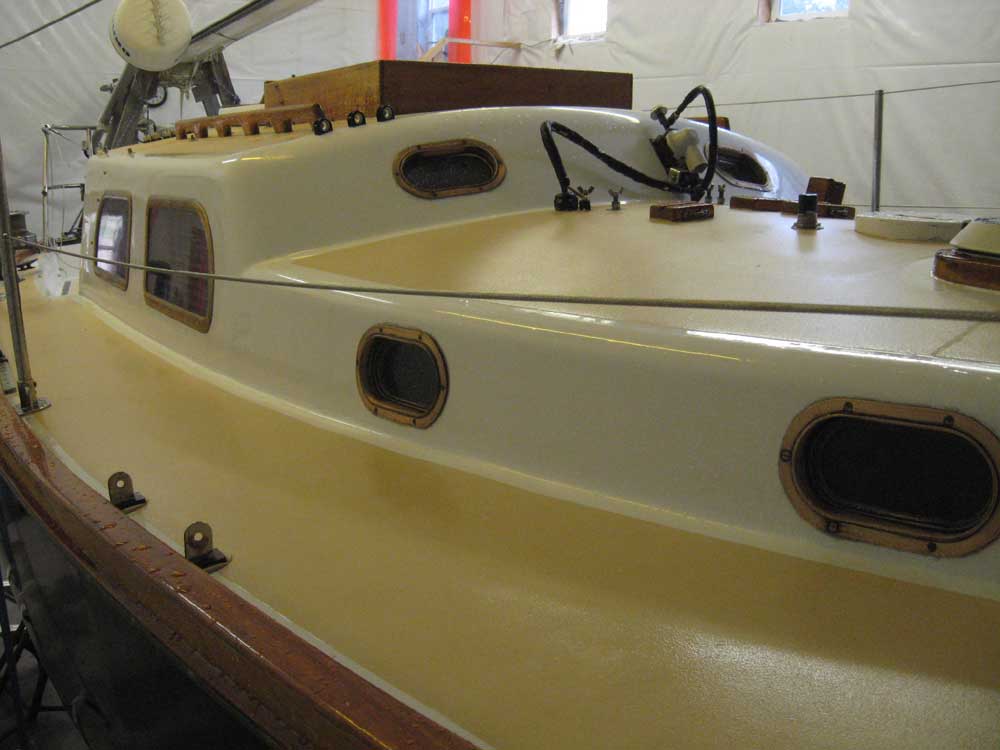
My normal springtime folly--the refinishing of the bronze
ports--required less work than sometimes, as last year's
finish hadn't substantially peeled away, and the bronze was
still bright in most areas. Still, I had to sand all
the ports to clean them up, particularly the two
forward-facing ports, which I'd not gotten around to last
year (these were green with verdigris). But this year
all the maintenance would get attended to: no more
slacking off. My poor boat deserved better.
Since the boat was indoors, I didn't have to immediately
worry about applying the clear lacquer to the ports, so for
now I left the ports alone so I could refocus on the
varnish. |
|

|
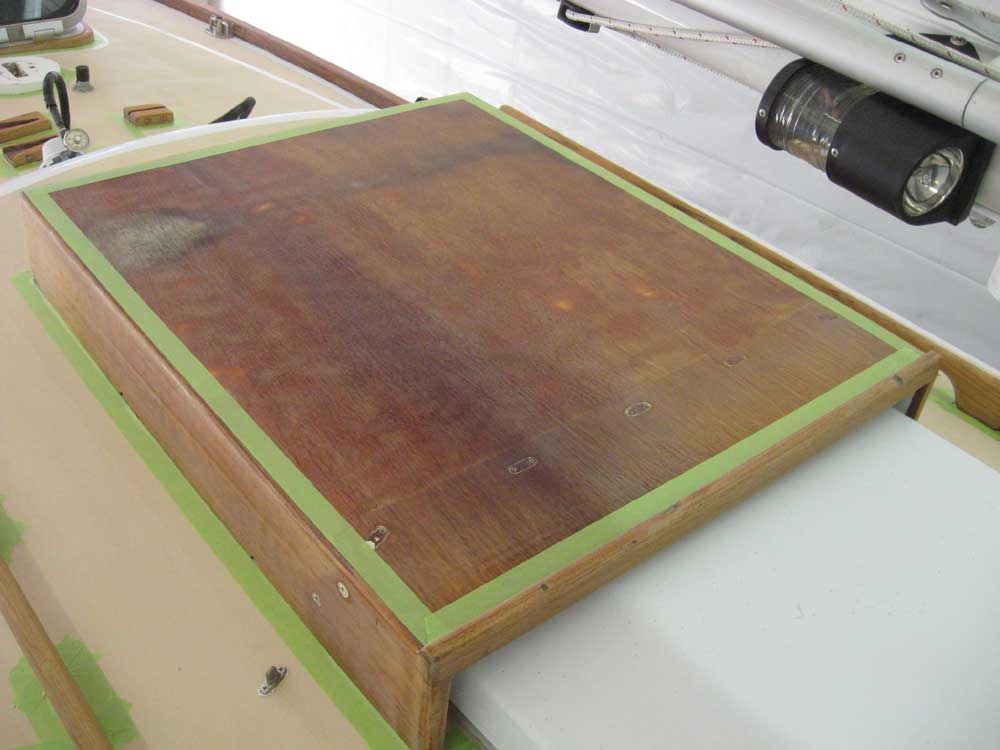
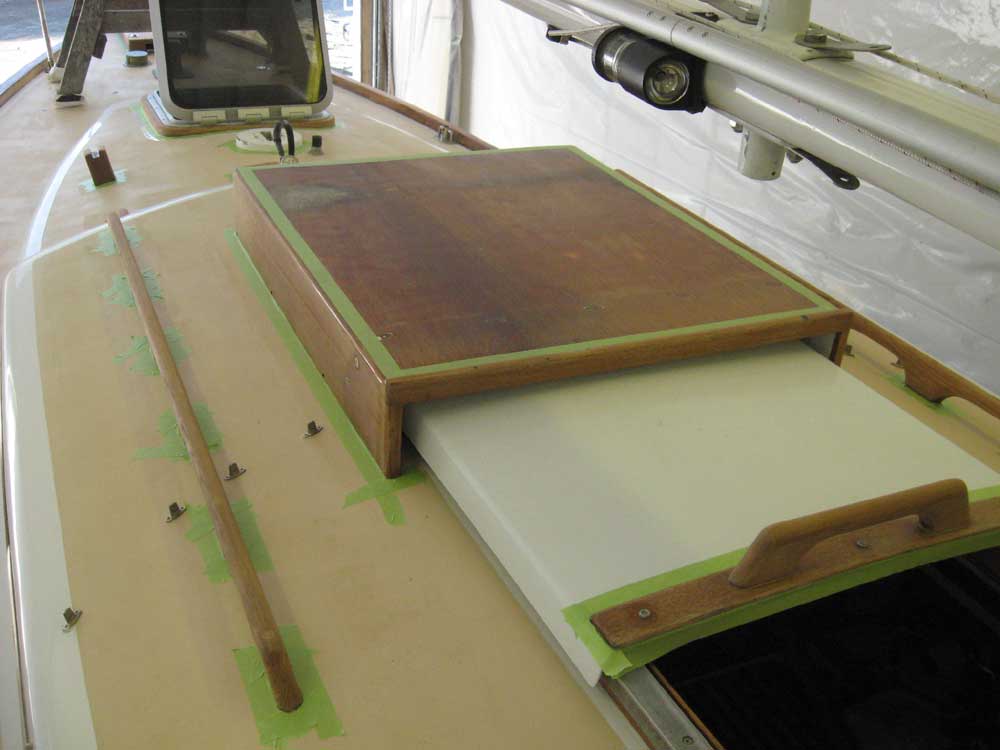
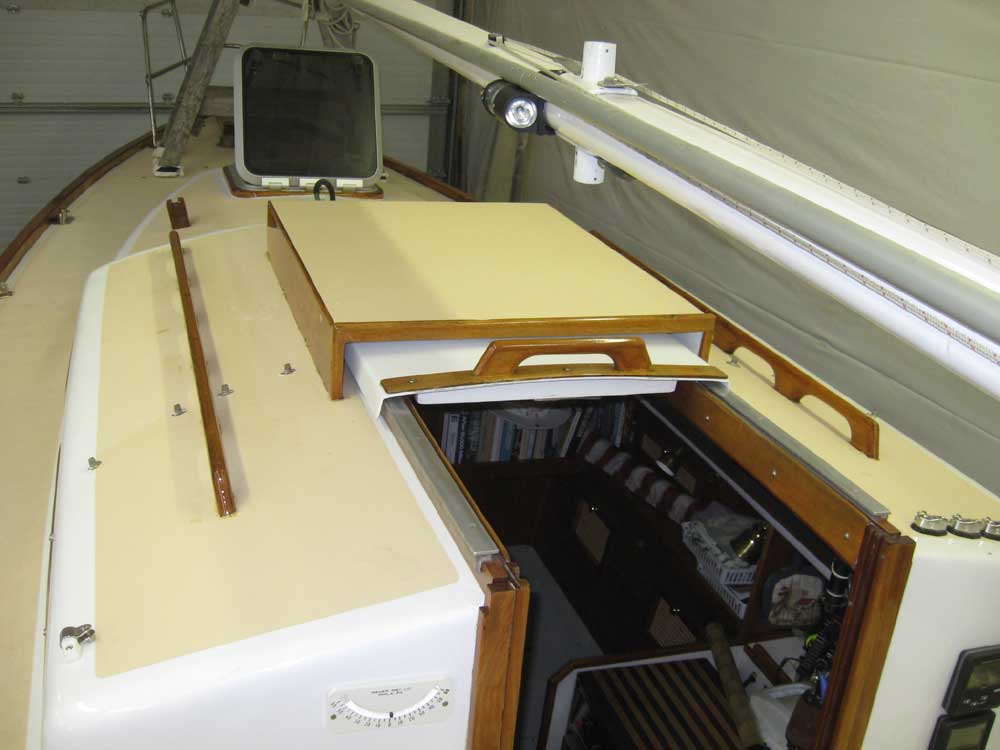
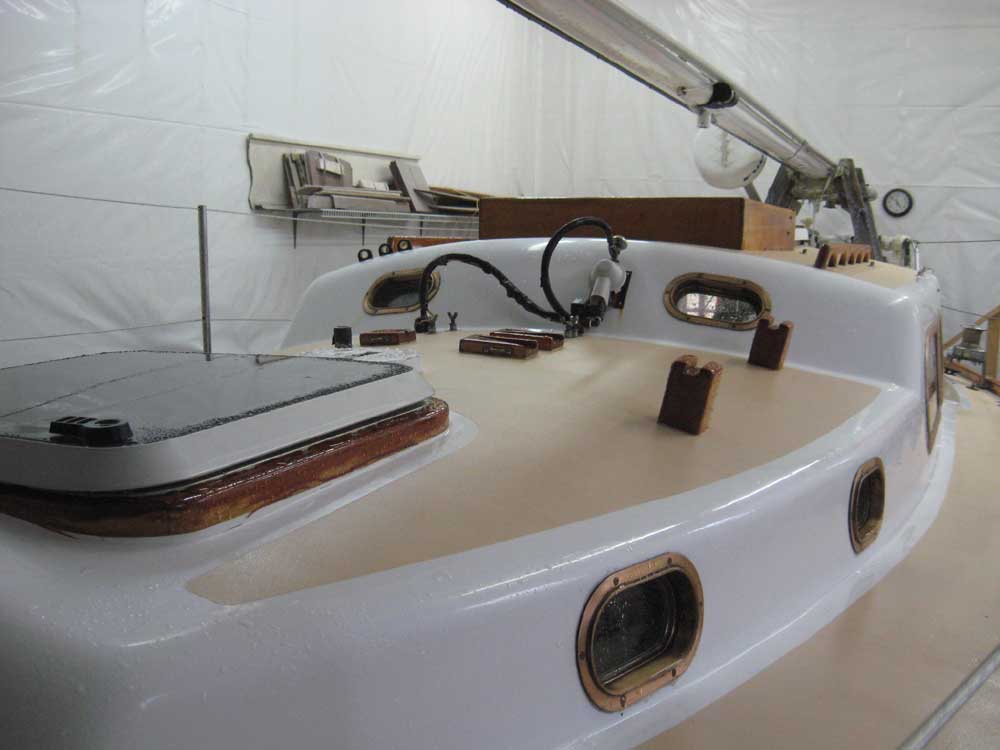
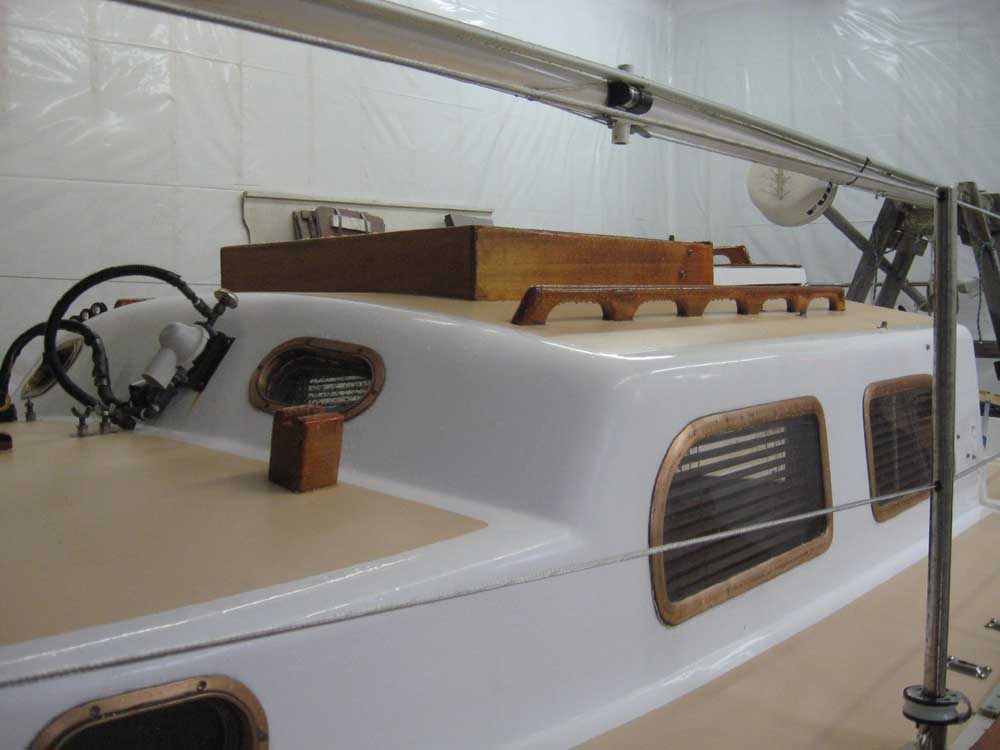
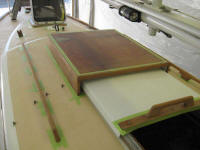
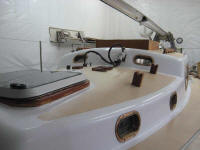
Reluctantly, I decided that the plywood top of the sea hood,
which had suffered badly over the years and had not held
varnish well, needed to become a painted surface, rather
than bright. The material had weathered where the
varnish failed during the Great Year of Neglect in 2006 (the
year I didn't launch while I built my house), and last
year's attempt to salvage the finish had only burned through
the thin mahogany veneer on the plywood. I considered
installing thin solid wood strips over the top of the sea
hood to cover the plywood, but I thought that the increase
in height--however minor (say, 1/4")--would adversely affect
the dodger's attachment points, so instead I just thought
I'd paint it with the same beige nonskid I used elsewhere.
So for now, I just taped off the top of the sea hood so I
could varnish the solid wood sides. |
|

|
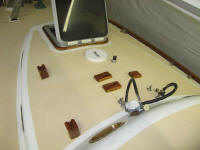
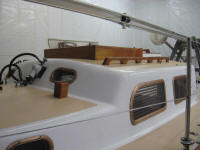
With all the prepwork complete, and the boat cleaned up as
much as possible for now (the boat was still filthy after
the winter, but at least all the dirt, dust, and other
debris was gone), I masked off all the brightwork,
then applied a sealer coat of varnish to the bare wood, and
a first coat to many of the other areas, excepting (for now)
the toerail, as it was late in the day and I knew the
toerail would only require a couple maintenance coats, which
I'd begin tomorrow. |
|


 |
4/27/08
Over the past week, I
applied 6 coats of varnish to all the bare wood that I
stripped, and 1-2 maintenance coats as needed to the other
wood on the boat. This wrapped up the varnish work
that I felt I needed to accomplish now, though I still had a
few removable bits--like the coamings, tiller, and
boathook--on which to apply seasonal maintenance coats,
which was underway as of this writing.
I also repainted the mast
step, and painted 2 coats of nonskid paint on the top of the
sea hood, now that I'd determined the bright finish there
could not be salvaged. |
|
|
Here's an update to the
project list that I first posted last fall:
1. New anchor
rode: Purchased and on hand (250' 1/2" Yale
Brait) |
|
|
2. Replace masthead light:
Light OK, new bulbs obtained and on hand
3. Lengthen the backstay
(New
Backstay on Hand)
4. Buy new chart #13305
(New Chart on Hand)
5. Replace, or otherwise troubleshoot, radar
cable (Pending)
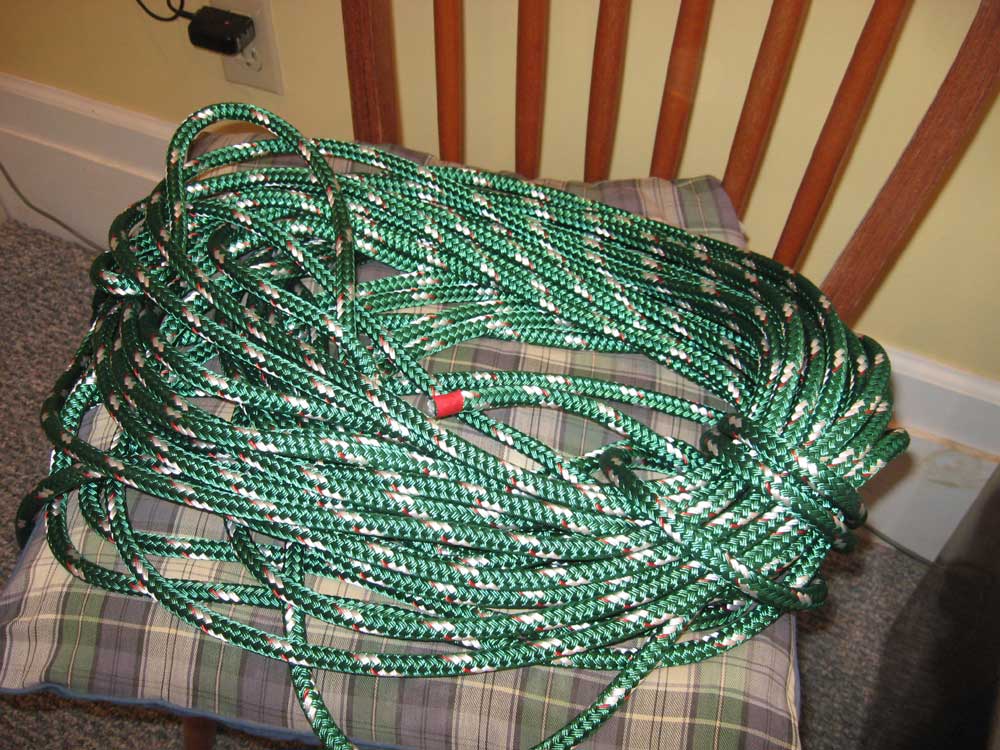
6. Finally replace jibsheets with a single
length to eliminate annoying knots at cringle:
New 89' length of 7/16" sheet on hand and ready to go |
|
 |
7. Varnish:
Varnish work complete for now |
|
 |
8.
I'd love to repaint the hull: Not now.
Potential winter 2008 refit planned.
9. The nonskid needs to be redone:
Not now. Potential winter 2008 refit planned.
10. A variety of sewing/canvas repair tasks
required (Pending)
11. Replace lifelines:
New Lifelines on Hand and installed |
|

|
I also completed the work on the port frames. I masked
off and papered as needed, and then sprayed several coats of
exterior clear satin finish lacquer on the bronze ports.
I used the same kind I used last year, as it held up better
than any of my other attempts.
With the day's--and the
week's--work done, and with winter's grime in addition to
leftover mess from the recent work, I did a quick scrub down
to clean things up. Much better. The boat was
now ready to go back outside anytime, which would probably
happen within the week depending on other scheduled projects
due at the shop. |
|


 |
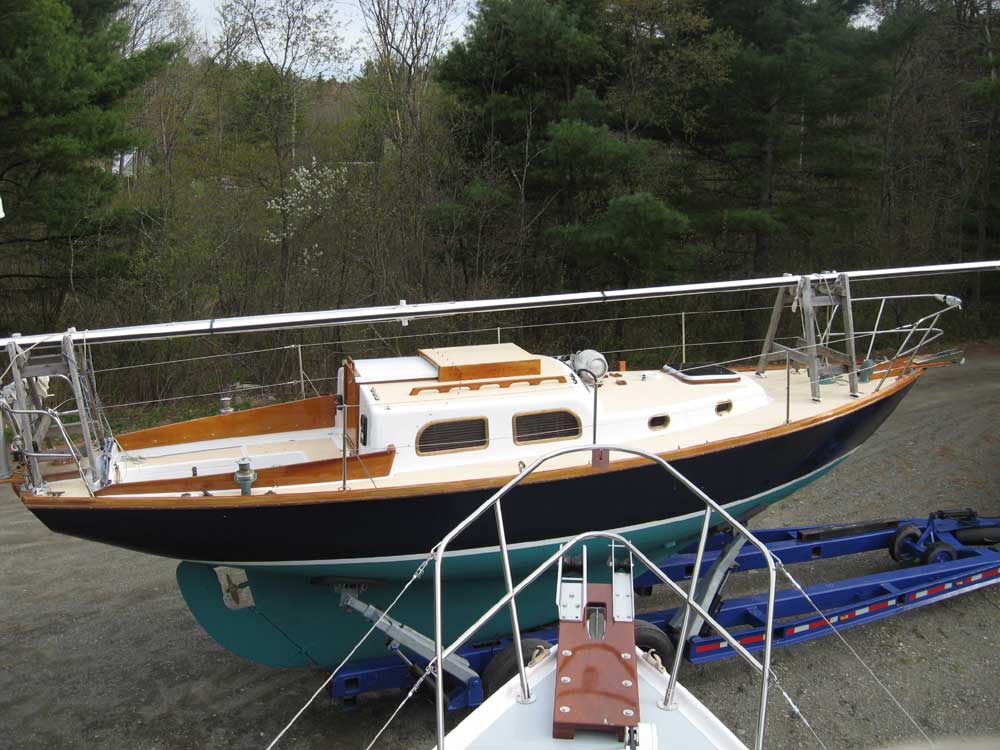
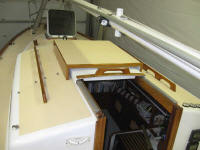
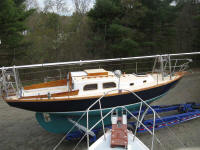
5/26/08
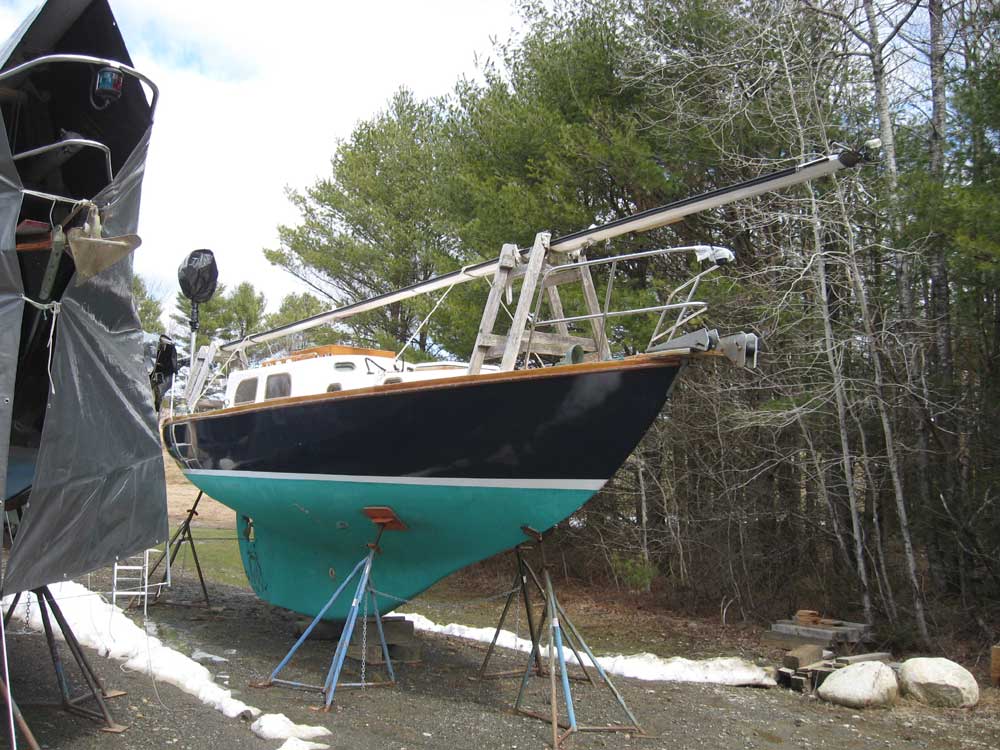
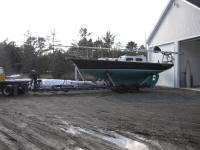
Over the past few weeks, I
continued working on the boat sporadically as needed.
I needed the indoor space for other projects at the shop, so
a week or so after completing the varnish and other tasks I
moved the boat outdoors once more.
I didn't have a lot to do,
but some of the normal maintenance tasks I took care of
recently included:
- Painting the bottom
- Re-rigging and
prepping the mast
- Test running the
engine
- Replaced and tightened
alternator belt
- Replaced raw water
impeller
- Loaded cushions and
other gear on the boat
- Marked my new anchor
rode (using the
same system I used on the old rode)
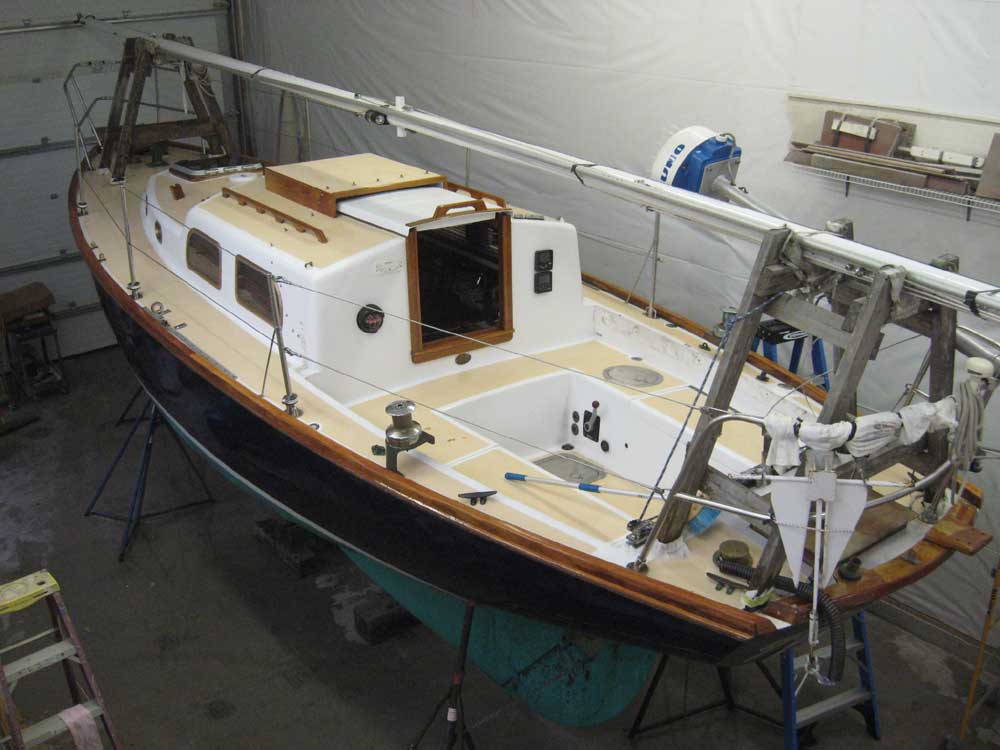
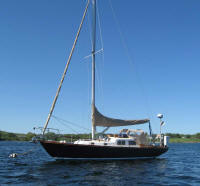
With that, she was ready
for launching, scheduled for Wednesday, May 28. See
you then.
This photo dates to about
May 10, 2008. |
|
|
5/28/08
Launch day!
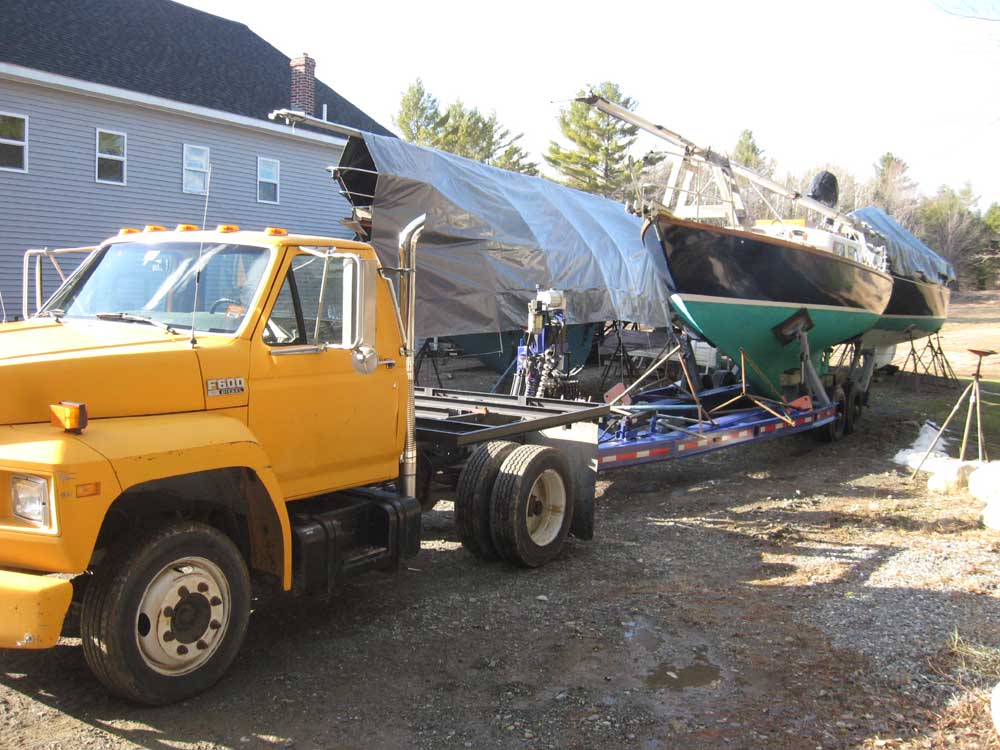
I was a bit nervous about
launching this year since it was the first time I'd be doing
it all myself with the new trailer. The day before, I loaded
the boat on the trailer and got everything ready to go,
since we (Heidi and I) planned to leave at 0500 in the
morning in order to take advantage of the high tide in
Rockland, about 45-50 minutes away.
The morning of, we arrived
at the Rockland public ramp just before 6 on a
beautiful--though windy (NW) morning. Since this was
an offshore breeze, the waters at the ramp were calm, as
expected, and fortunately everything went well with the
launching and the trailer. Once the boat was floating and
I'd done my habitual leak checks, I parked the rig in the
parking area and we prepared to bring the boat over to
Journey's End to step the mast, ostensibly for a 0930
appointment, though since we'd be there very early I hoped
to get the mast up even sooner. |
|

|
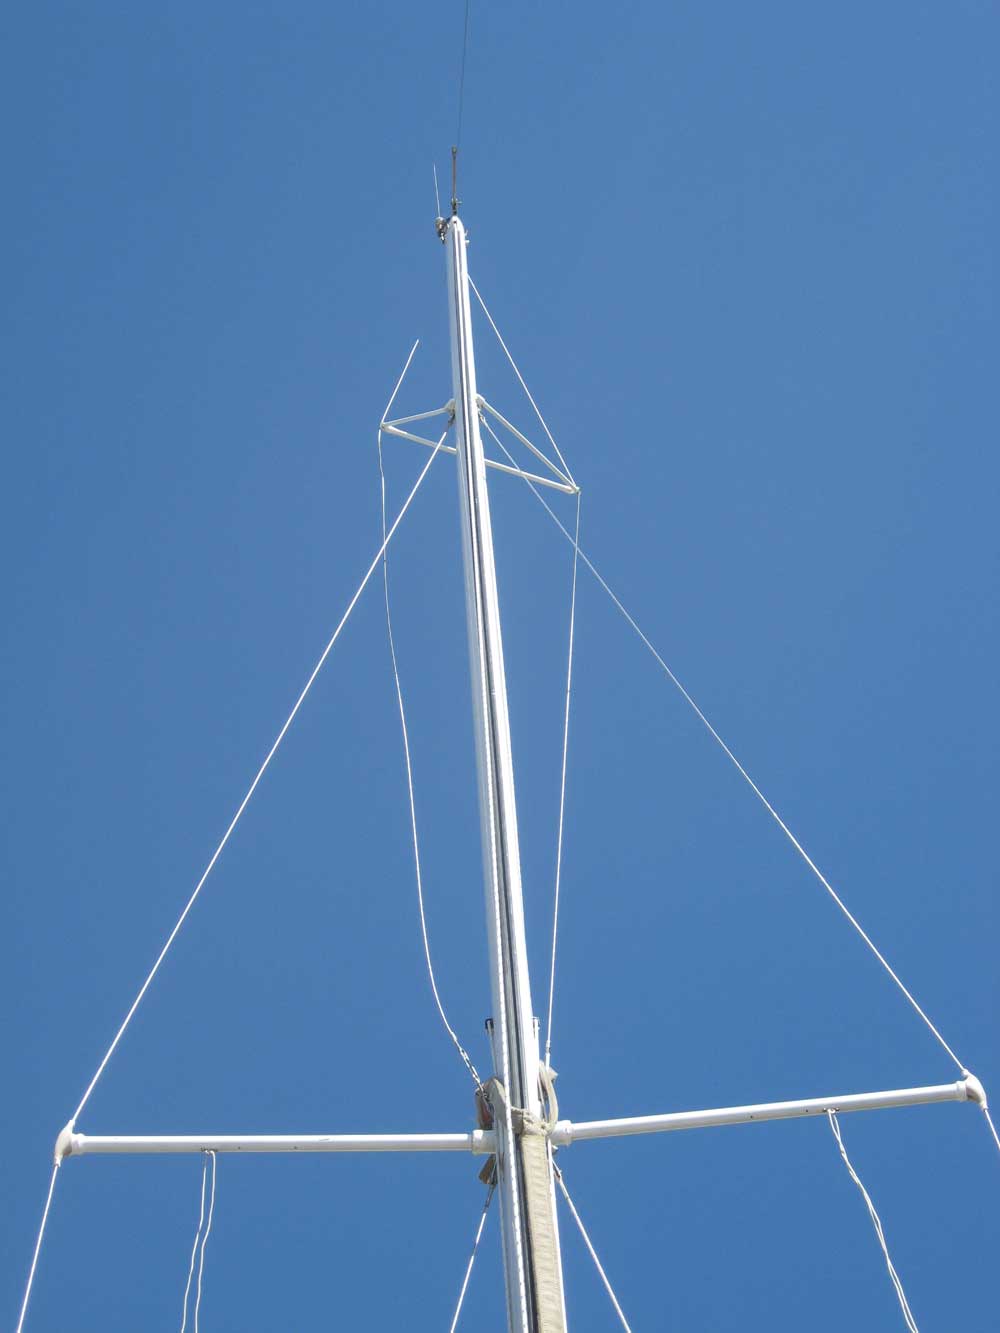
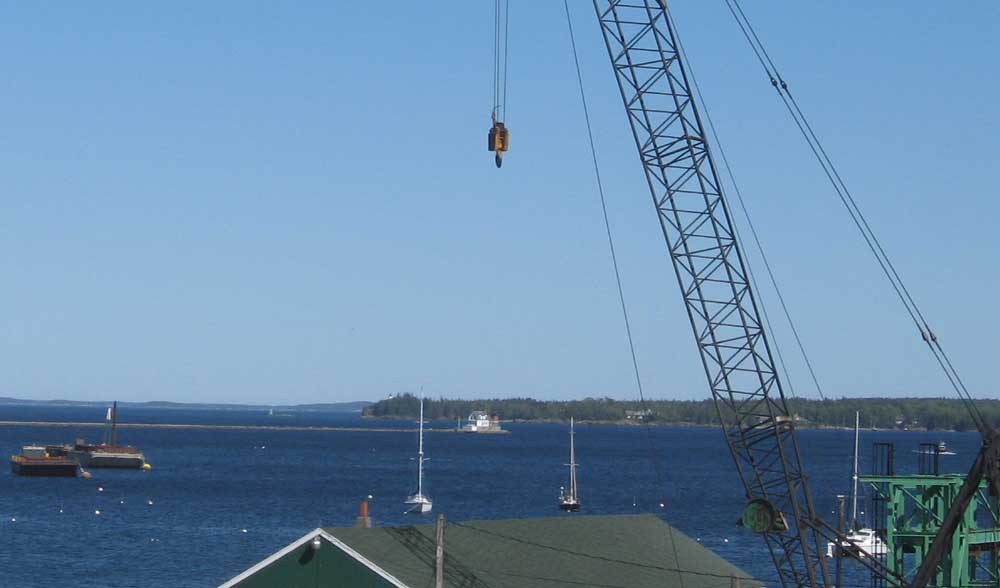
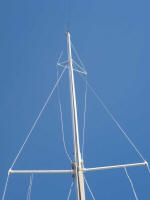
Around 0830, we got the mast stepped. It went fairly
well, though a couple members of the crew were pretty green
young kids. I ended up holding the butt of the mast in
place in the step while the others struggled with some of
the rigging attachments, particularly the headstay, since
the boat (and mast) rocked frequently in the wakes.
This distracted my attention, and it wasn't until after the
rigging was attached that I looked up and realized that the
crane had crunched my jumper struts--or the port side one,
anyway. |
|
|
|
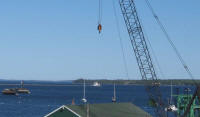
This was a mistake that could
have been avoided, and even though Royal River, my yard from
Yarmouth, had always hooked the crane up on the forward side
of the mast--like Journey's End did this time--I knew that
it was better if they hooked up on the aft side, to prevent
clearance issues with the jumpers. Still, as much as I
care about my boat and am involved in all processes, when I
hire a subcontractor to do something, I tend to remain
fairly hands-off and let them do the job well--or not
well--on their own. I'm not one of those people to
interject suggestions or comments continually, and tend to
let others make their own mistakes, for better or
worse--it's that whole personal responsibility thing that
drives my life's value system. When I hire someone, I
just expect acceptable performance, and when they screw it
up, it's their problem. Sometimes you just can't tell
other professionals how they should go about their work, so
I let them go their own way--and suffer their own
consequences later.
Right or wrong, this is how I approach this stuff. In
this case, I wish I'd thought more about it and said
something, but since no one there seemed that concerned,
despite the obvious and (always) annoying jumper struts in
the way, I let it go, figuring they knew what they were
doing.
In the event, I have to say
that the yard handled the issue pretty well after the fact,
and within short order they had damaged strut and were
getting to work on building and painting a new one--I can't
fault how they handled the problem once it had occurred,
which gained them points. By 1130, the strut had been
replaced, with no lasting effects. While I waited for
them to build the new strut, I worked on other rigging
tasks--putting on the boom and boom vang, installing the
roller furling drum and dodger, and that sort of thing.
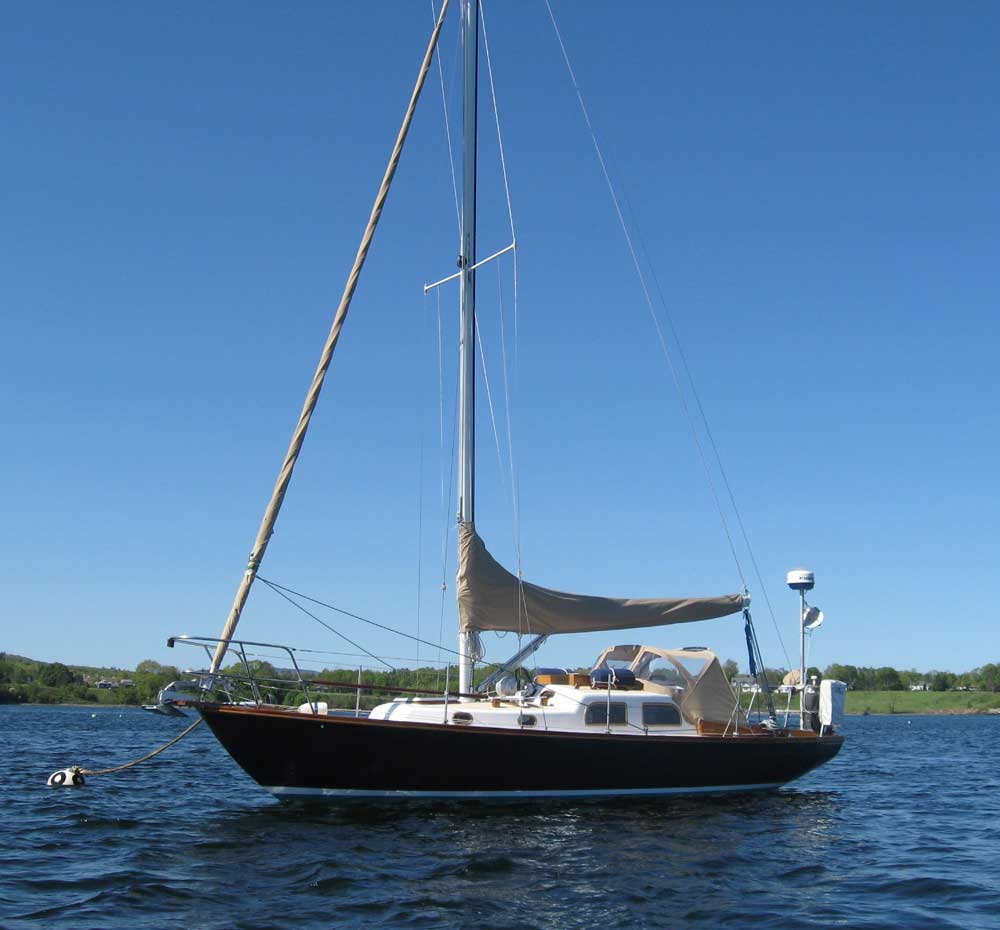
Once the strut was back in
business, we left the dock at the marina and headed vaguely
out. We had hoped to get the boat up to her permanent
mooring at Buck's Harbor, but despite the beauty of the day,
the wind was just all wrong--20-30 knots, and far more
northerly than we wanted for the planned course (i.e it
would have been far too close to the nose). Plus,
the boat wasn't ready to sail; ultimately, it took me
another couple hours at the rental mooring to get the sails
and rigging set up properly. So we planned to take the
boat up within the next day or two, as weather allowed.
It really was a gorgeous
day, all in all, and it was fun being on the boat. I
always feel better when she's all set up and cleaned up
after the winter, so this was a good day to get her there. |
|
|
Click
here to continue.> |
|