|
Small Projects:
Abovedecks (Page 2)
This page was last updated on 2
April 2002
Re-Lacquering
the Ports
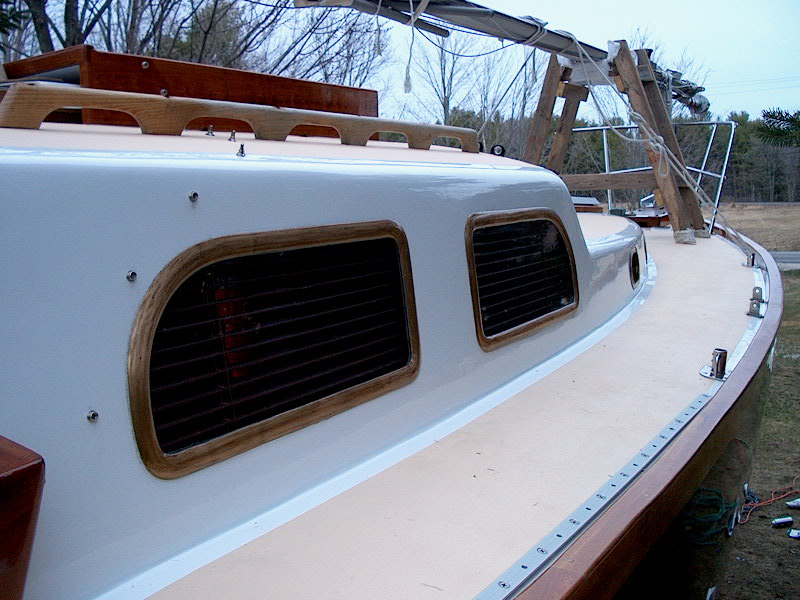
During the winter, I became aware
that the lacquer on the exterior port frames had failed--badly. I don't
really know why it happened; they seemed to look OK when the boat came out in
the fall. I guess the UV just got to them over the summer, and it took the
cold weather to cause it to crack...who knows. In any case, they were a
mess; basically, the finish was loose, cracked, and peeling, and I knew before I
pulled the cover off that I would have to address the ports.
After I pulled the cover off, I
immediately turned to work on the ports. I just wanted to clean them up
and get the project over with on the nice day that I had at my disposal, and
before the now-exposed bronze had a chance to weather or anything. So,
armed with a putty knife and 220 grit sandpaper, I scraped off the mostly-loose
lacquer from all the ports. (Sorry--no pictures of the failed finish--I
forgot.) It came off easily for the most part, but the job was a little
tedious. Once the lacquer was scraped off, I carefully sanded the frames
bright again with the 220 grit. Scraping and sanding the 10 ports (4 large
and 6 small) took a little over an hour--not too bad.
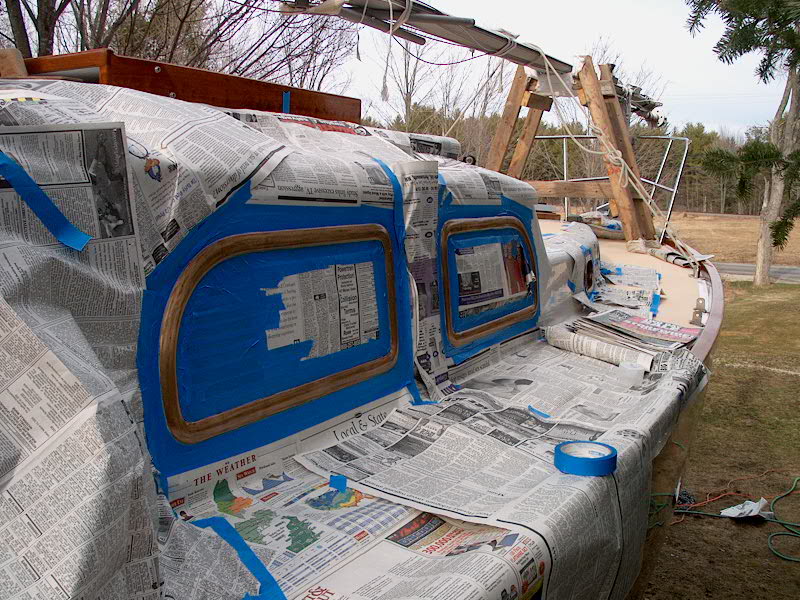
Now, the real fun began.
Because I use spray lacquer on the bronze, I had to mask off all the
ports. This was a hell of a lot of work, and many times during the process
I wondered why in the world I couldn't be happy with ports allowed to go natural
brown/green, whatever.
First, I had to mask around the
outside of each port. Of course, most of the edges are curved, so getting
the tape to conform means using a million small pieces.
Then, I had to mask around the
inside of each port, on the glass/lexan. The inside curves are even worse
to get the tape to properly cover.
In all, masking all the ports in
this manner took over two hours of my time and more than a roll of masking tape.
|

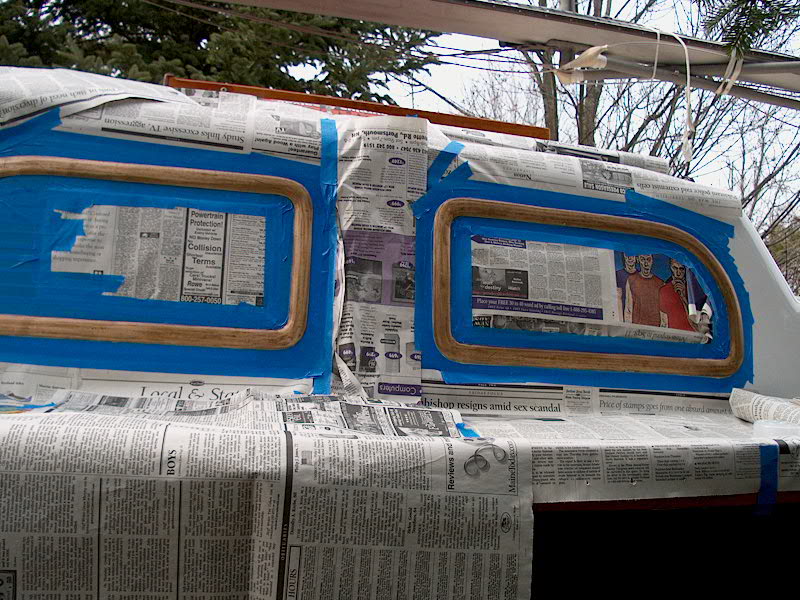
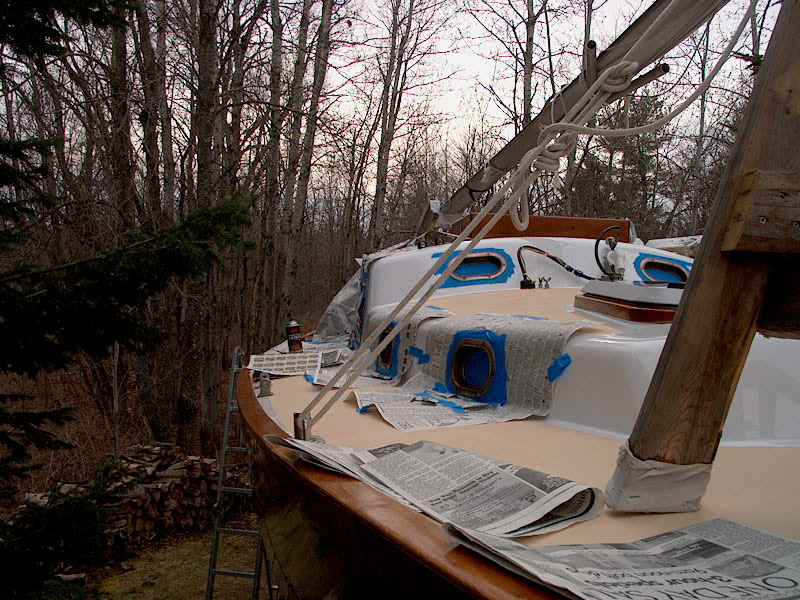
 Then,
to top it all off, I had to install newspaper all around in order to prevent
overspray on the surrounding surfaces. This was like rubbing salt in my
wounds. Of course, now the wind decided to pick up just a little bit,
making dealing with newspaper all the more fun. It was at this point that
I really began to question my chosen port finish, not to mention my
sanity. Was this really worth the ridiculous effort it was taking?
That question was one I chose to ignore for a while. Call this the
ultimate labor of love.
Then,
to top it all off, I had to install newspaper all around in order to prevent
overspray on the surrounding surfaces. This was like rubbing salt in my
wounds. Of course, now the wind decided to pick up just a little bit,
making dealing with newspaper all the more fun. It was at this point that
I really began to question my chosen port finish, not to mention my
sanity. Was this really worth the ridiculous effort it was taking?
That question was one I chose to ignore for a while. Call this the
ultimate labor of love.