|
Repainting the
Nonskid
This page was last updated
on 17 December 2003.
|
|
After undertaking several destructive
projects on deck--repairing the mast step
area and recoring a small portion of the
foredeck--I was left with no choice but to repaint all the nonskid areas
on the deck. That was OK, since the paint was 3 seasons old and in
need of some sprucing up anyway. There were some minor dings and
scratches, and the deck showed some wear and tear.
With all deck projects
complete, I decided upon a good time in my shop schedule to take care of
the nonskid painting, and move forward with the task. In
preparation for painting, I removed the stanchion bases, some cam cleats
on the cabin trunk, and the chainplate covers. I also removed the
cockpit sole hatch. During the earlier projects, I had already
removed the bow platform and mooring bit on the foredeck, so those were
out of the way. I left the genoa tracks, handrails, and some other
assorted hardware in place because they could be relatively easily
painted around--and, frankly, their removal would have been a
pain. I figure that I'll remove all deck hardware the next
time I repaint in a few years.
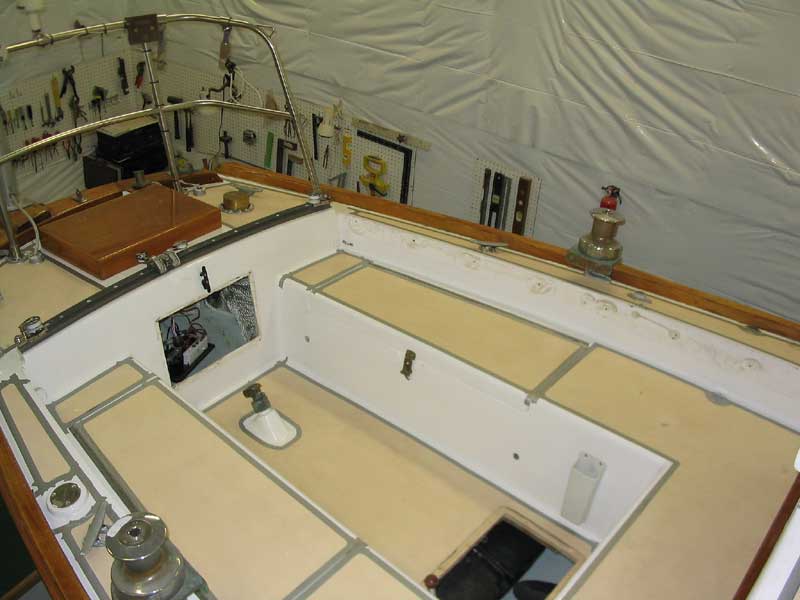
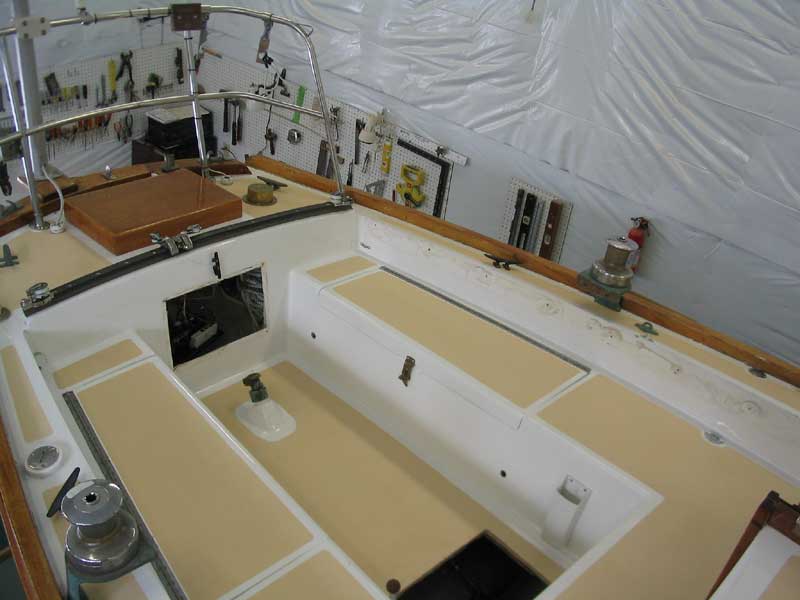
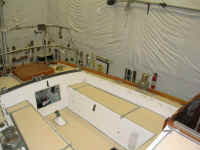
The next step was to mask
off the nonskid areas. I used my favorite tape, 3M #225 silver
masking tape. I followed the existing lines, and used a quarter on
all the corners to create a pleasing radius--as I did during the
original
paint job in 2000. This process used a couple rolls of tape
and took a few hours to complete.
With that done, I briefly
sanded the nonskid areas with 120 grit, just to give them some tooth and
to slightly flatten the existing texture. Next, I vacuumed up the
dust, and cleaned the deck areas with Interlux 216 special thinner, and
finally used a tack rag to remove the final bits of dust. |
|

|
|
For the paint, I chose Interlux Brightside one-part polyurethane
(color: Bristol Beige). This is the same paint I used
originally for the nonskid (the smooth areas are Snow White Awl-Grip),
and I had been pleased with its performance in this application. I
purchased two quarts of the paint, along with two small cans of
flattening agent. I had a can of Interlux polymeric nonskid
particles left over from before. I poured the quart of paint into
a bucket, then mixed in the full can of flattening agent (a half
pint). Then, I added 6 oz. of the nonskid particles and mixed thoroughly.
After waiting for 10 minutes or so, I tested the product to see what the
grit was like; I decided to add more, and let the paint sit for several
more minutes so as to properly incorporate the particles.
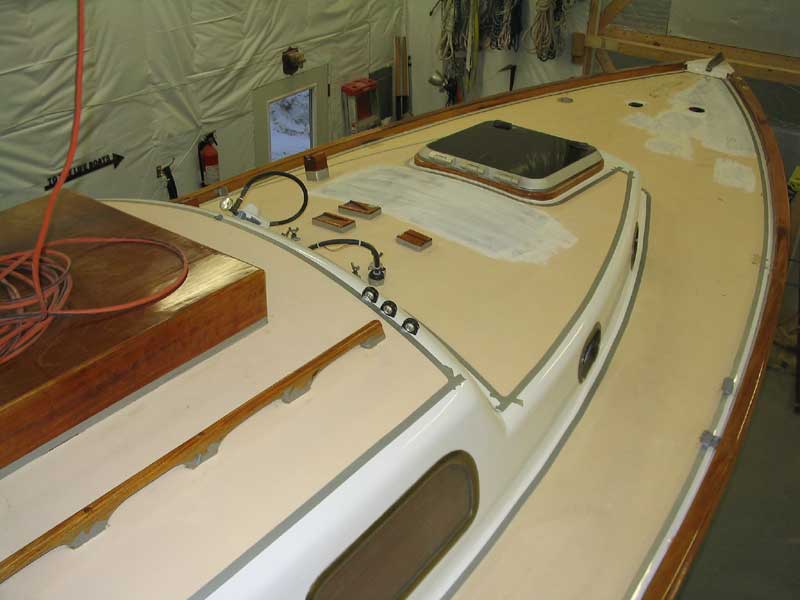
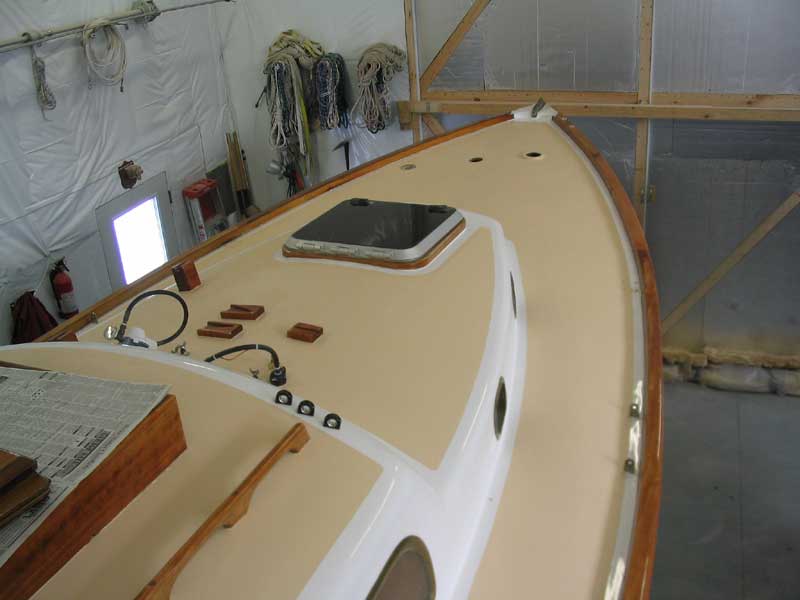
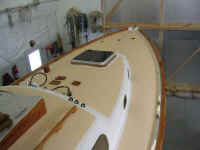
To apply the paint, I
used a 2" foam brush, 1/2" chip brush (for really tight
areas), and, for most of the job, a 3/16" nap roller on a 3"
roller frame. Beginning at the poop deck I painted my way around
the boat, covering the cockpit, coachroof, port sidedeck, foredeck, and
starboard sidedeck. Application was easy, and the paint rolled out
evenly and smoothly. It felt great to cover the primed repairs on
the mast step and foredeck, and the new nonskid paint made the boat look
like new again. |
|

|
|
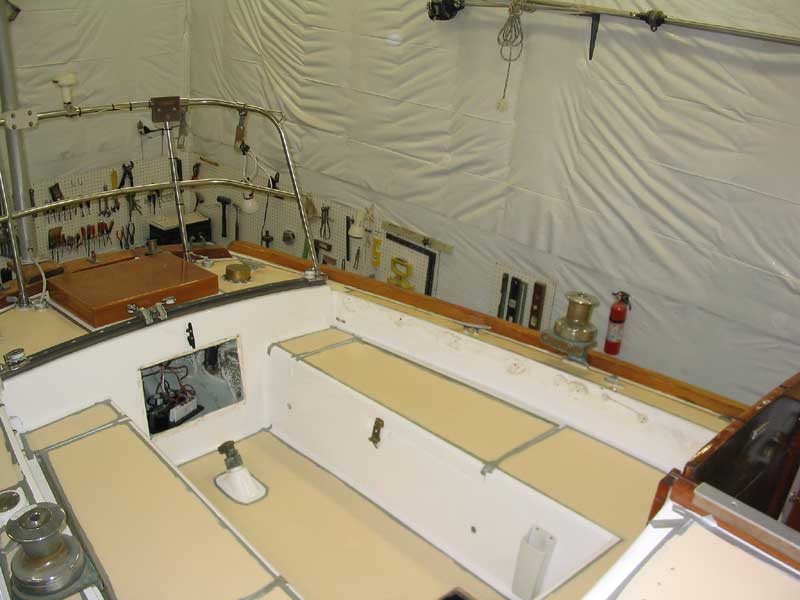
After allowing the
first coat to dry overnight and well into the next day, I rolled on a
second--and final--coat. The second coat went on much the same as
the first, though I made the unfortunate mistake of mixing up the new
batch of paint in the same plastic bucket I had used the day
before. Unexpectedly, the dried paint on the sides of the bucket
decided to slough off into the new paint, contaminating it with a
variety of annoying paint bits that I was forever fishing out of my
newly-rolled deck surface. With great care, I learned
how to fill my roller from the tray without picking up much of the
garbage, but it was still annoying. I didn't have enough paint
left in the first quart from the day before to complete the deck job, so
I pressed on with the contaminated paint. Fortunately, it didn't
end up causing much of a problem, as the paint bits were large enough to
not only be completely obvious, but to easily pick out.
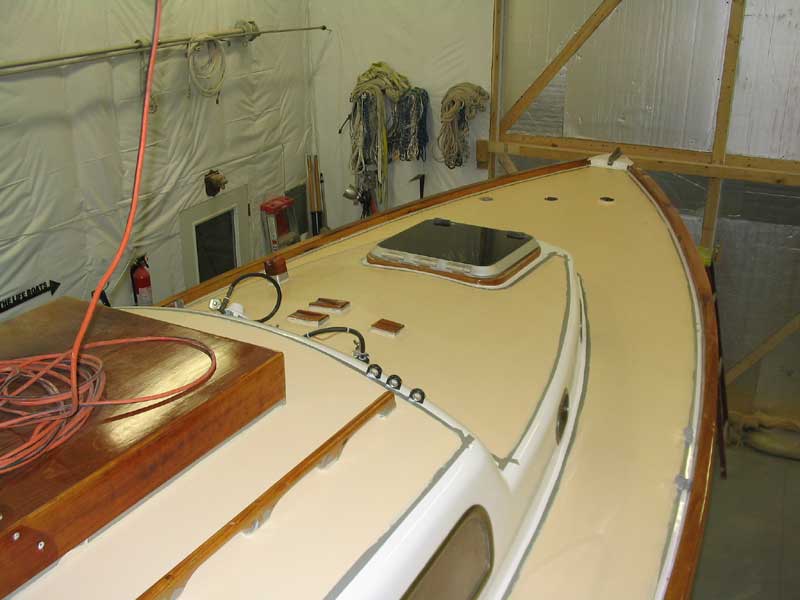
After allowing the final
coat to dry for a day or so, I removed the masking tape from all the
edges, a process that was hardly enlightening though it was nice to see
the finished product. During the tape removal, I discovered to my
dismay that in a few isolated places, there were some visible roller
marks where I must not have been careful enough. After a long,
disheartened pause, I decided that the marks were all but invisible
under normal circumstances, and only showed up when viewing the deck
from eye level and under harsh fluorescent lighting. Though I
would have preferred perfection, by now I was used to the results of my
work being anything but, so I made the decision to continue removing the
tape and to be done with it. The flaws, as it were, are such that
no one else would ever notice in the real world (other than the fact
that I just told you all about them), and were not worth the time,
frustration, and annoyance of attempting to redo.
Being a perfectionist, I
long ago realized that one musts learn to live with imperfection at all
times, since true perfection is only a vague concept and a hopeful
ideal, rather than an attainable concrete possibility.
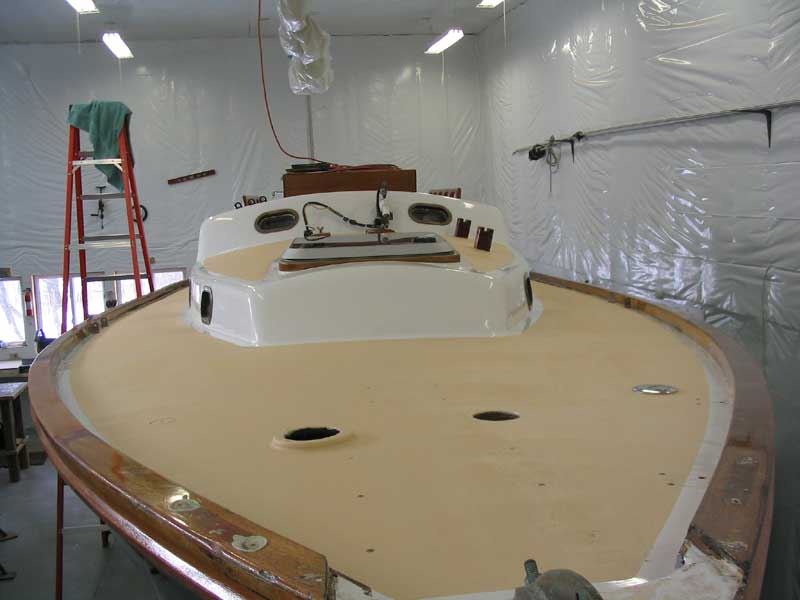
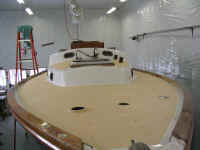
The new nonskid looks
great. I think the texture turned out a little better than the
first time--it was certainly better than the 3 season-old
version--though it was hard to remember exactly what it was like back
then.
Project complete.
|
|

|
|
|
|