|
Refit: Winter 2008-2009
|
Winter 2008-2009 Refit | Saturday, March 28, 2009
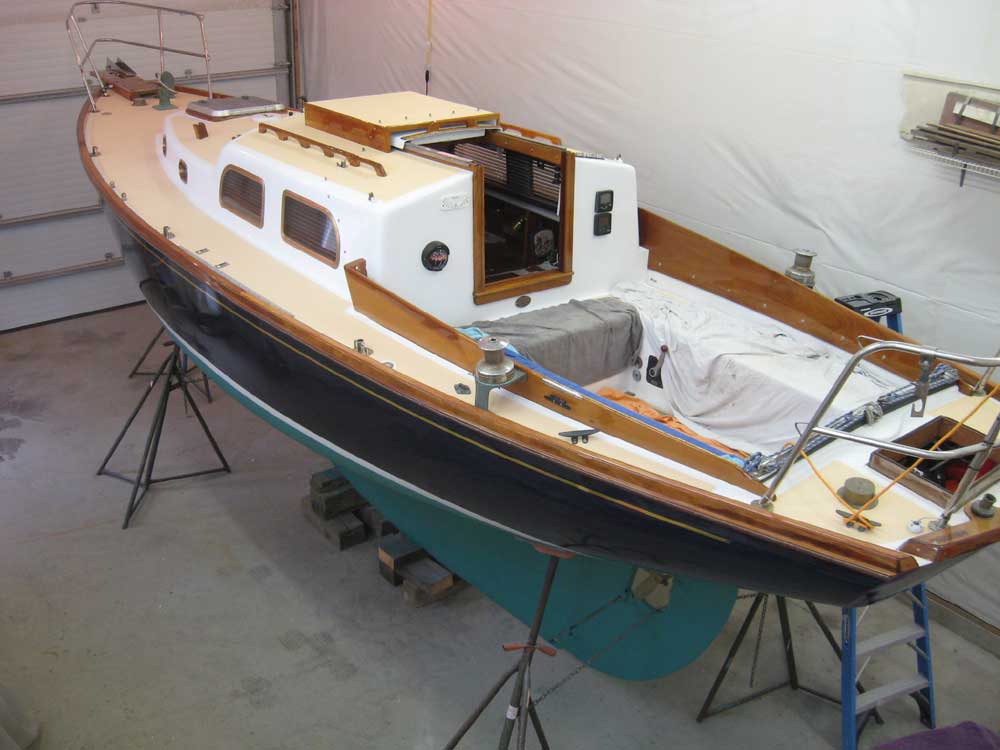
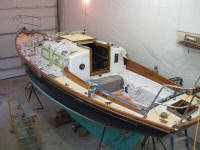
The modified dodger required some solid forward-leading
braces in order to support itself when the wings were
removed. A couple weeks ago, I ordered the requisite
materials to make a pair of adjustable braces, but with a
week away in the mix I didn't get a chance to build them
until today.
This turned out to be a straightforward
task. I'd ordered two pieces of 1" SS tubing cut to
24" long, which dimension I'd measured roughly in advance,
but I thought I'd end up cutting an inch or several off the
tubes they were in the shop, to allow for various factors
that I couldn't or didn't want to take the time to
anticipate. As it turned out, the full 24" length was
perfect without modification, so I avoided the need to trim
the tubing. This saved some time and fussing.
But this is getting ahead of things a bit.
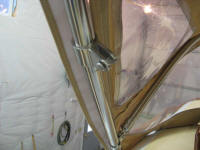
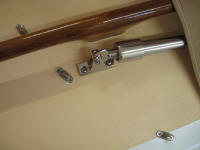
The first
thing I had to do was install a jaw slide on each side of
the dodger frame. Because the new fitting would be
near the top bend, I first had to remove the two fittings
already installed at the bottom, so I could slip the new one
on. I temporarily secured the new fittings in a random
location just to hold them while I reassembled the rest of
the frame. |
 |
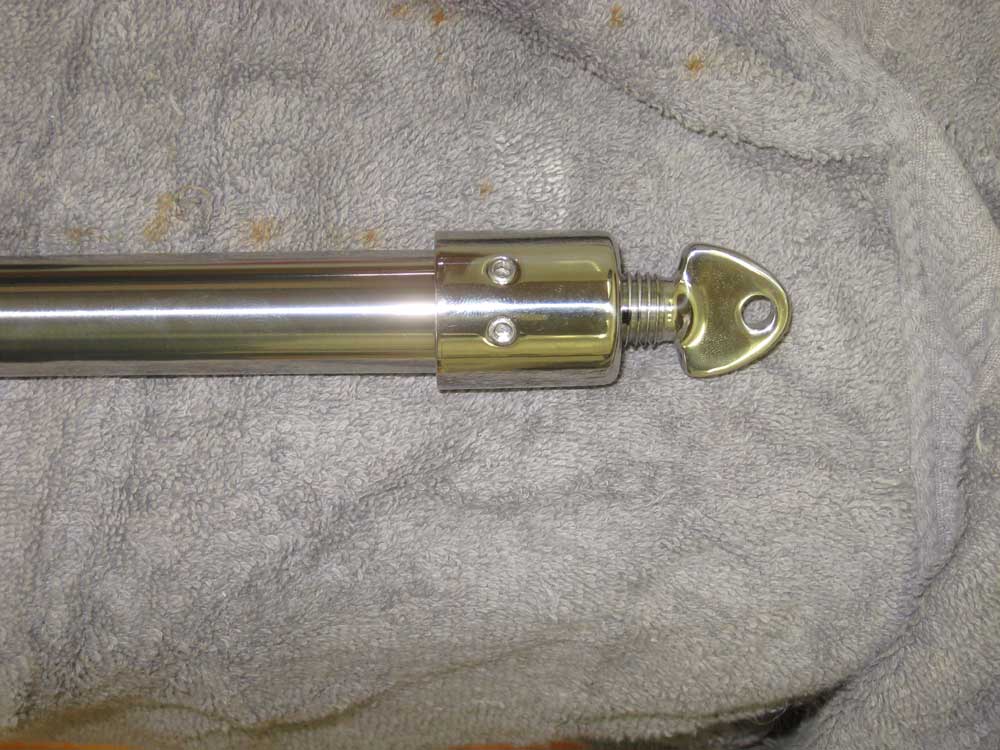
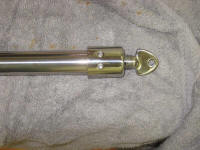
Next, I assembled the
adjustable braces, using an adjustable eye end at each end.
I adjusted the thread so that they were roughly halfway
through their travel, to allow the new strut as much
adjustment in both directions as possible, and after
installing one end I held the strut in place to determine
whether I needed to cut the tubing shorter and where the
forward end should be placed. This is when I
determined that the full length of the tubing would place
the forward base in a good location, so with that
determination made I installed the adjustable eye on the
other end of each tube as well. |
 |
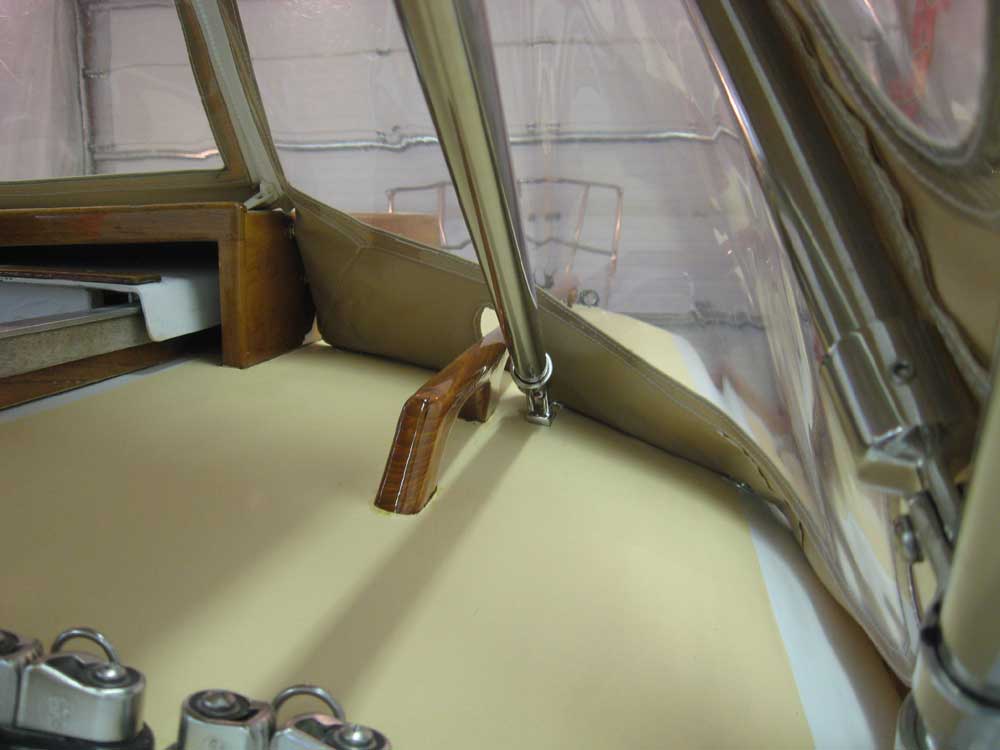
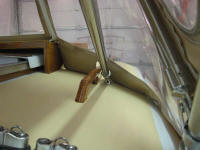
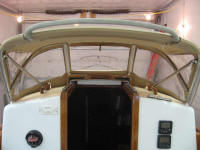
I attached one end to the
angled deck mount that would secure the forward end to the
deck, and then attached the other end to the jaw slide,
adjusting the slide's position as needed on the dodger frame
to accommodate the strut. The slide ended up just
below the bend in the tubing, which is where I wanted it
anyway. I secured the setscrews to hold the slides in
position, and then positioned the deck mounts and marked the
edges with a pencil so I could relocate them for fastening;
the mount ended up nearly as far forward as it could be and
still be inside the dodger's attachment point to the deck,
and there wasn't clearance to drill the holes with the
dodger canvas in place. |
 |
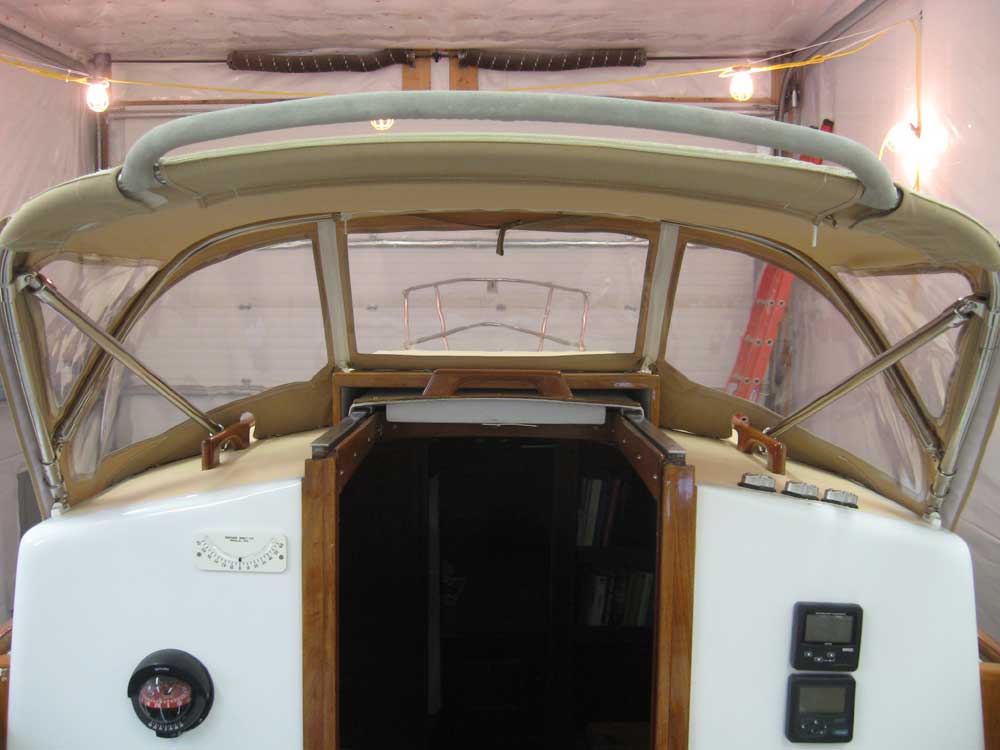
With the positions
marked, I detached the dodger and drilled the screw holes,
then temporarily mounted the deck mounts so I could test out
the struts' function. I was pleased with
how they worked and looked, and they didn't impact vision or
intrude on the space inside the dodger. On the
starboard side, the mount's placement was far enough from
the handrail to allow one of my aft-leading control lines
(the cunningham, I think) to still clear the new
mount--though I admit that I didn't think of this potential
conflict until after I had installed the mount.
I
removed the dodger and frame, now that the modifications
were complete, and removed the deck mounts so I could
re-install them properly in overbored holes, etc. |
 |
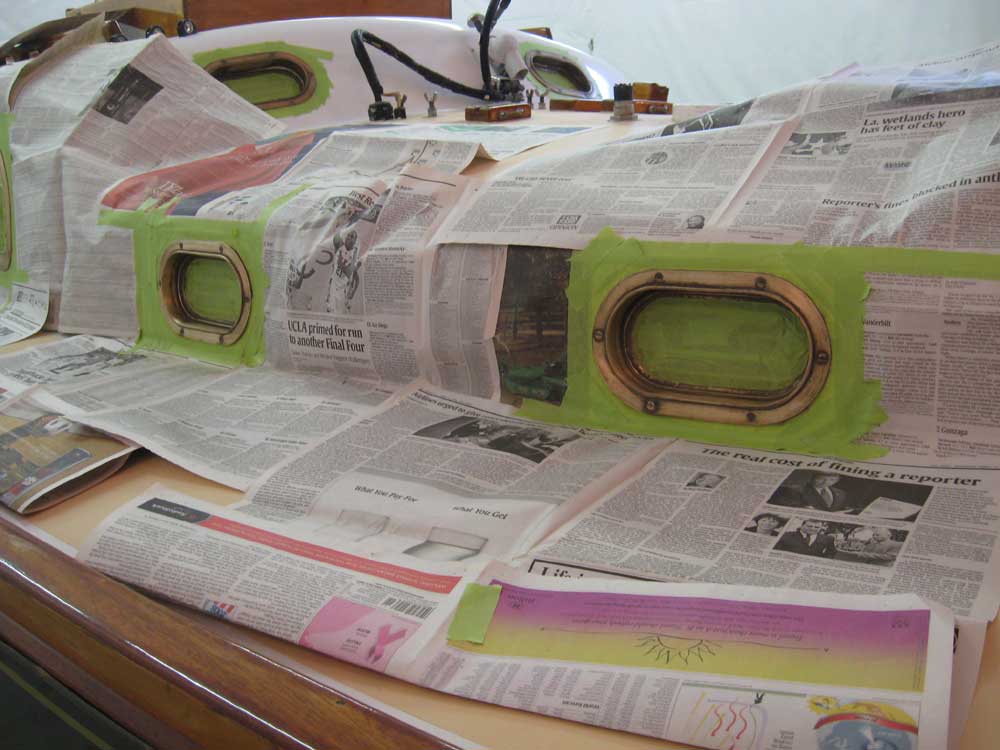
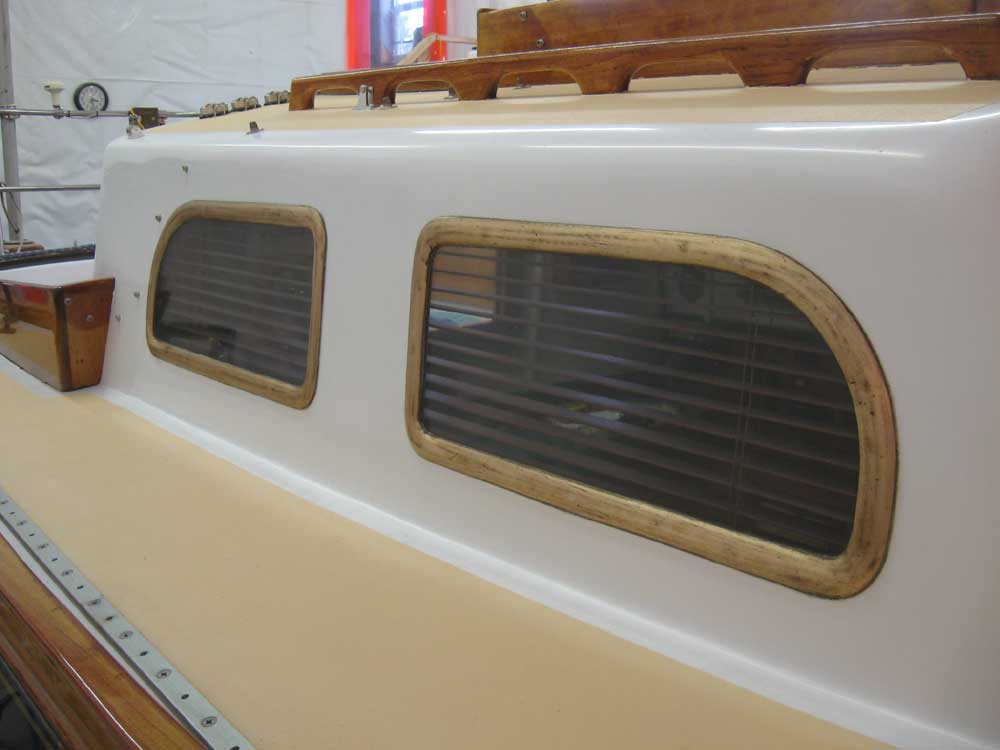
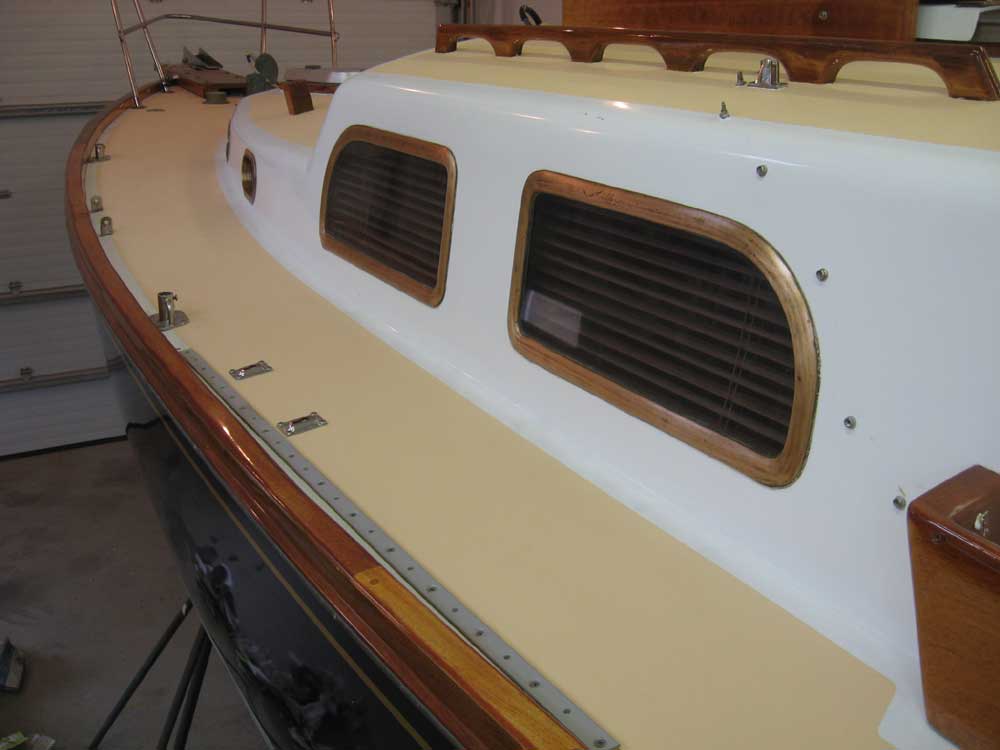
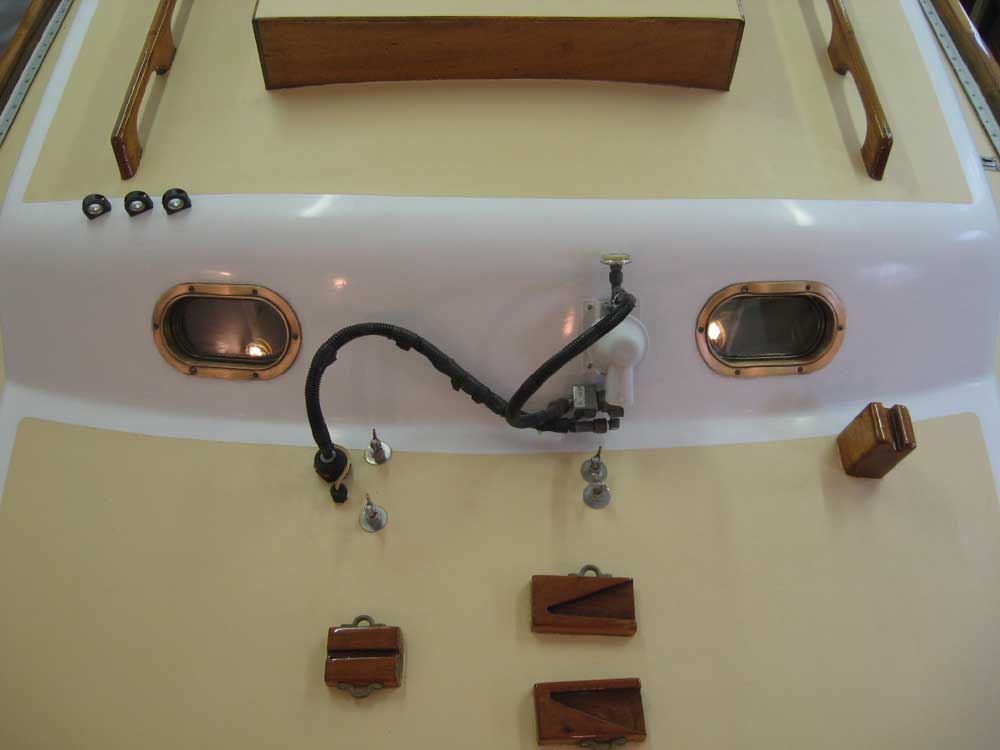
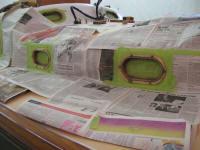
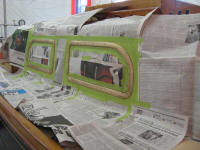
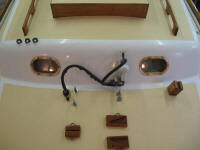
Next, I turned to the
bronze port frames' maintenance, and their annual cleanup
and application of clear lacquer. During an earlier
project on deck, I'd taken the opportunity to mask off the
two forward-facing ports; now, I continued with the
remaining ports, masking off the inside and outside edges
and covering all adjacent surfaces with paper to protect
against overspray. With the prep complete, I sanded
the frames to clean them up as needed and, after two hours
of prep work, applied 4 coats of clear, semi-gloss spray
lacquer, a task which took about one minute per coat.
Later, when the lacquer had had enough cure time, I removed
all the tape and paper that I'd laboriously installed.
Come closer, dear reader. I want to let you in on a
little secret. Move in just a little closer so you can hear
me...closer. Just a little closer; I don't want the whole
world to know. Let me whisper in your ear.
I
hate doing this port job every
year. |


 |
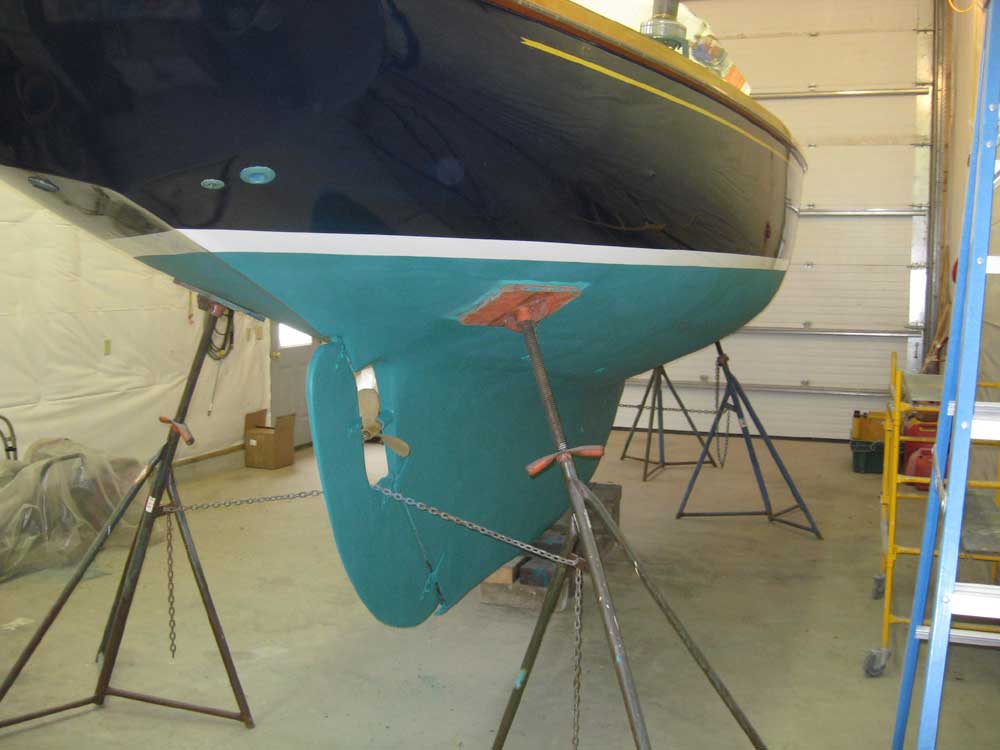
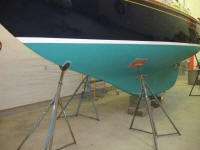
With that out of the
way, I masked off the bottom and applied a coat of paint,
Micron CSC green as usual. I put the engine battery on
the charger, and that was that for the day. |

 |
Total time today:
4.75 hours
Previous | Next |
|